Introduction to Fruit, Vegetable and Floral Wines
What Is A Country Wine
In my eyes a “Country Wine” is one that is made from fruits, vegetables or flowers other than the traditional grape wines we are all used to. In most instances the ingredients are grown, picked or foraged although buying the base ingredients is also fine.
Every country wine maker will have their own methods they have built up over time, a certain formula that they follow that’s come about after trying things out and finding which of those things work. The basic principles of making a fruit, vegetable or floral wine though are the same. In this section I will explain the key processes required to make a country wine.
Country Wine Making in a Nutshell
For simplicity, in this introduction I am not going to delve too deep into the whys of each step of the wine making journey or it’d end up far too long. Instead, I’m going to explain how you go from the fruit to the wine and what each step in the wine making process achieves. For those interested in the nitty gritty of each process read on on to the end.
Step 1: The Ingredients or Flavour
Making wine with fruits or vegetables is slightly different to making wines with grapes. The thing about grapes is they have all the correct nutrients, sugar levels, acidity and tannins present in their natural state and these are all the things you need to make a well balanced wine.
For example when making blackberry wine, those blackberries don’t have the optimum levels of acid or sugar so will need helping out. We know what blackberries taste like so we know they are going to make an incredible wine but we need to add sugar, water and a little acid (such as citric acid from lemons) to help it on its way.
To summarise the process what we do is we mush up the blackberries, put them in a fermenting bin with the water, sugar and any other additions then add some yeast. This will will break down those blackberries even further extracting more flavour and colour and the yeast will start making alcohol. This fruit mixture is called a “must”.
Step 2: Primary Fermentation
So before I said we add yeast. Yeast is the most important ingredient in winemaking, without the yeast there is no wine. Yeast are living organisms that turn all the sugar in our must into alcohol and carbon dioxide. This is why when you taste a dry wine it isn’t sweet like a fresh grape, the yeast have consumed all the sugar, whereas a dessert wine is still sweet because the yeast are stopped before all the sugars can be consumed.
The amount of sugar available, among other factors, affect how much alcohol there is in the finished wine, yeast can only create so much alcohol, up to 16-18%, before it gets too tired and starts to die.
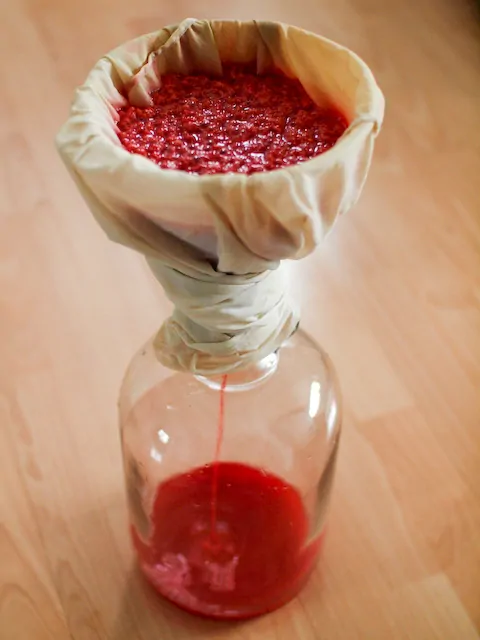
After a week to ten days it’s now time to separate the liquid from the fruit. At this point enough of the flavour compounds from the blackberries will be in solution giving us a beautiful bouquet in the finished wine. Strain out the solid and debris using something like a straining bag or cheesecloth. The wine can be transferred from the fermenting bucket into a demijohn or carboy.
Step 3: Secondary Fermentation
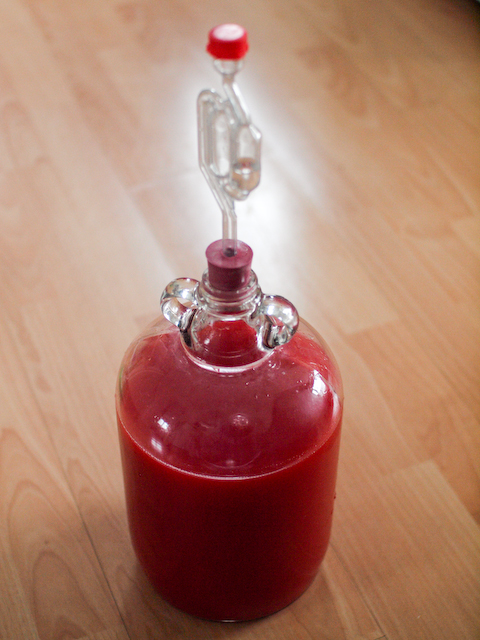
When the wine is in a demijohn the yeast are still working away creating alcohol and carbon dioxide. Fitting an airlock in the neck of the demijohn allows air out but not in. This airlock allows the CO2 to escape but prevents any air getting in which could possibly spoil the wine. The wine will then begin clearing and the yeast will slowly consume all the nutrients and sugars available and slowly fall to the bottom.
Step 4: Racking, Clearing and Aging
As more and more debris falls to the bottom of the demijohn it’s important to move the wine off the old dead yeast and debris that has built up so no off flavours can affect the wine. Once in a clean vessel the wine can continue clearing and maturing. There are still flavour changes occurring in the wine and this maturation process can last months.
Step 5: Bottling
Now the wine has cleared and all activity has stopped the wine is then syphoned into bottles and sealed with a cork. The wine is matured further in the bottle allowing the flavour to develop further. This process is how you end up with vintages in the commercial wine world, and country wines are exactly the same, able to keep for 4 or 5 years if brewed carefully.
Wine Making Equipment
Basic Equipment That You’ll Probably Have
Making country or fruit wines is pretty simple requiring a few basic bits of equipment to get started. You probably will have some of the stuff necessary to start straight away but there are a few other bits you might need to beg, borrow or buy. I assure you though they aren’t expensive and will last a lifetime so what have you got to lose.
This is stuff that I expect most people will already have at home and are largely self explanatory as to what they are used for so I won’t bother explaining each.
- Sieve
- Funnel
- Long Plastic Spoon
- Bottle
- Measuring Jug
- Large Pan
Equipment You’ll Probably Need To Buy
Plastic Fermenting Bucket with Lid
A fermenting bin is used for the initial stages of fermentation of the wine. You can either buy a fermenting bin from a home brew shop or use a food grade bucket of some sort. The size is up to you of course, technically the larger the bucket the more wine you can make if you have enough fruit, or whatever ingredient you are making your wine with. I use a 15 litre fermenting bin and usually only make 2 gallon batches (roughly 10 litres)
Straining BagMost of your ingredients will need to be infused in water for a period then separated out. A straining bag will remove so much more than a sieve and is far easier. You can buy purpose made straining bags or use something you’ve put together yourself like a nylon net curtain. Remember though your straining bag is going to need to be strong enough to take the weight of all the water laden fruit pulp.
Wine needs to be aged for a while and the best way to do this is in demijohns. After the initial burst of fermentation (primary fermentation) the wine is racked off the old yeast and other debris into a demijohn where the secondary fermentation continues and the wine can mature and clear.
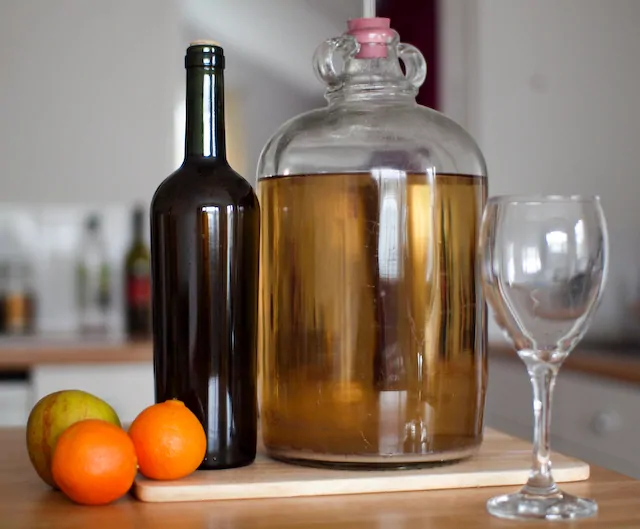
Usual sizes for demijohns/carboys are 1 gallon or 5 gallons I use multiple gallon demijohns as they are easier to store and move around if necessary. I have also never bought a new one, you will almost always be able to find them at car boot sales and jumble sales. If you don’t want glass like the one pictured then you can certainly use gallon water bottles that are readily available in the supermarket. They will do the exact same job but you may need a different size bung for the opening.
It’s not a good idea to pour your wine from one vessel to another. A syphon tube ensures no contact with the air and is simple to use. Check out this article for more information on using a syphon. Purchase by the metre for a few pence. A racking cane is also a good idea as the rigid tube will allow you to syphon from the very bottom of your vessel and stop sediment from being syphoned.
Bungs and Airlocks
Bungs fit in the opening of you demijohn to seal it off and the airlock is a small device to allow CO2 which is created during fermentation to be emitted from the wine but for no air to get into the demijohn. These are a few pence online or from your local home brew shop.
Bottle BrushBottles are difficult and a chore to clean, a brush just makes the job easier and less hassle.
Campden Tablets or Sodium MetabisulphateNot technically equipment but most recipes will require you to use them. In a nutshell they are used to sanitise your fruit and remove any unwanted wild yeast or bacteria. I will explain more about them in a dedicated post. These are again available online or from your home brew shop.
Country Wine Ingredients
Extracting Flavour From Your Fruit
Now it comes to the fun part where we take our ingredients and try to capture as much flavour and aroma from them as we can. I’m sure people have tried hundreds of ways to extract as much flavour and colour from fruit as possible but generally the methods fall into 2 or 3 categories, I like to use the simplest as much as possible (why make things harder for yourself).
Hot Water Infusion
This method is simple and that’s probably why it’s so commonly used in 90% of the wine recipes you see. All there is to it is to put your prepared fruit into your primary fermenting vessel (usually a bucket) and pour over an appropriate amount of boiling water. Sugar can be added at this stage too and the boiling water will help to dissolve it. This mixture can be left to infuse for a few days then the solids separated by straining before adding the yeast to begin fermentation
Pulp Fermentation
With this method you again chop, mash or crush your fruit and add a desired amount of water, at this stage you may add a campden tablet to “sanitise” the fruit which may have bacteria or wild yeasts on and allow to sit for 24 hours. After this point sugar, nutrients and any other additions can go in as well as the yeast. After a few hours the yeast will begin working and extracting as much sugar from the fruit as they can along with colour and flavour compounds. After the initial burst of fermentation the solids can be separated by straining and further fermentation and clearing happens in the demijohn.
Direct Heat Extraction
With direct heat you are essentially stewing the fruit. The prepared fruit is put in a pan with a small amount of water and heated to break it down. This method of extraction should only be used in certain circumstances. The flavour and aroma of fruit is altered by cooking and that flavour isn’t greatly suited for wine.
Pressing
Pressing is by far the most labour intensive method of extraction and will require further equipment, for this reason it’s usually not the best method for the average home wine maker. Pressing is what is used to make grape wines which involves crushing the fruit in a mechanical press.
Flavour Is The Key
Just remember that what you want to achieve with these methods, you want to retain the very essence of the fruit you are using to make the wine. If you are making a wine with delicate berries I myself would prefer to steer away from dousing them in boiling water which may remove some of those delicate flavour compounds.
All About Wine Yeast
All About Yeast
Without yeast there would be no wine. Yeast are responsible for turning sugar to alcohol and they do this with great efficiency, but what is yeast? Basically they are classed as a fungus and are a single celled fungi that love sugary solutions whether that be from flour used for making bread, barley for making beer or fruit for making wine.
The purpose of yeast isn’t to make alcohol (although that’s the purpose brewers use it for), this is just a byproduct of them growing and trying to reproduce as quickly as possible. Yeast consume sugar by creating enzymes that help them digest it and along with producing alcohol they also produce carbon dioxide in equal measure (this carbon dioxide is what gives bread its holey texture and beer its fizz).
When we make a wine we add sugar in a certain quantity and the yeast will consume as much of that sugar as they can in order to grow up to a certain point. Yeast can tolerate alcohol up to a certain point but when the levels of alcohol present get too high it poisons them and they begin dying. This is why there is a limit of around 14-16% to the alcoholic strength of wines.
Yeast In Wine Making
So as a wine maker we create a sweet solution with water, sugar and a flavouring like fruit which also adds a small amount of sugar. To this we add yeast which removes as much of the sugar that it can. If there is too much sugar for it to consume it leaves a residual amount which will result in a sweet wine or a dessert wine, if it can consume all the sugar the result is a dry wine.
The yeast also creates some of its own flavour compounds as it goes about fermenting. Some of these flavours are good and some are not so desirable. The good thing about yeast however is they will clean up these undesirable flavours in time. This is why it’s important to allow the yeast an adequate amount of time to ferment your wine and then fall out of suspension.
What About Bakers Yeast
I would strongly urge you to steer clear of bread yeast. If you want to make good wines then one made with a dedicated wine yeast will always be better than one made with bakers yeast. You’ve got to think of the yeast as an ingredient, this means chooseing a strain of yeast for the type of wine you are making whether that be a red wine like a Burgundy or a white like a Chablis. There are hundreds of wine yeasts to choose from so go for one of those and leave the bakers yeast for making bread.
Preparing To Make Your Wine
Wine Fermentation
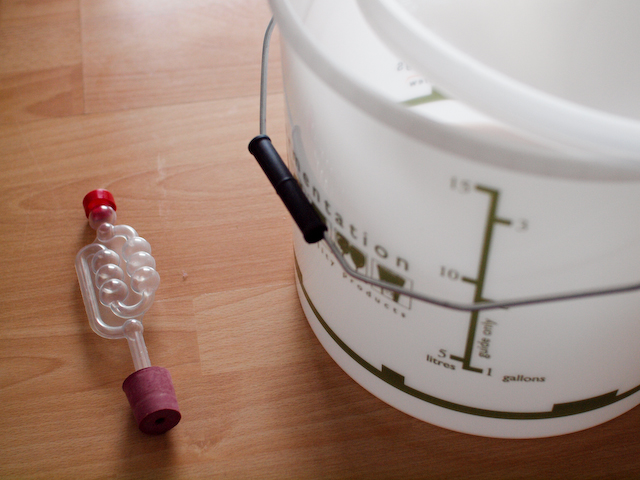
Once the yeast is prepared it is “pitched” into the must (the fruit pulp and sugar) it then begins to reproduce and grow by using the sugar as fuel and after a short lag time which may be up to 24 hours it will begin to foam and bubble with activity. This is what we call primary fermentation and is the first real step towards your alcoholic wine.
This primary fermentation doesn’t last long, around a week or two and at this point we separate the liquids from the pulped fruit and allow the yeast to continue with their activity which will be a lot more sedate now. This secondary fermentation is usually carried out in a carboy or demijohn which protects the wine from oxygen and wild yeast whilst the wine clears.
Transferring to Secondary
After the initial burst of fermentation or the “primary fermentation” has finished we need to move the wine into a demijohn or carboy. There are still processes occurring and the yeast will still be working but in a slower and less visible manner. What usually occurs is the wine is separated from the pulp of the fruit or flowers by straining and the secondary fermentation continues in the demijohn with an airlock fitted.
Straining can be as simple or hard as you make it, depending on the flavour of the wine or the fruit, flower or flavouring used you may be able to strain the wine with something such as a sieve or a fine straining bag may be necessary. The goal is of course to remove as much of the pulp or debris as possible. In some cases where a fruit has been pulped finely it may be a good idea to strain the wine twice, firstly with a something with fairly large holes to remove the bulk of the pulp then through a finer strainer to remove the smaller particles.
What’s Going On During Secondary Fermentation
The yeast will at this point have consumed most of the available sugar and nutrients available to them and will be now cleaning up and evening out the flavour of your wine. During the first stages of fermentation yeast creates compounds that although necessary for their growth and function aren’t that great when you taste them. Allowing the yeast this secondary phase of fermentation gives them the chance to removes these undesirable compounds and flavours and gives us a better wine.
There is also the fact that the wine will at this point be very cloudy and there is no way you should be bottling it at this point. This time in the demijohn will allow it to slowly clear.
Getting Prepped
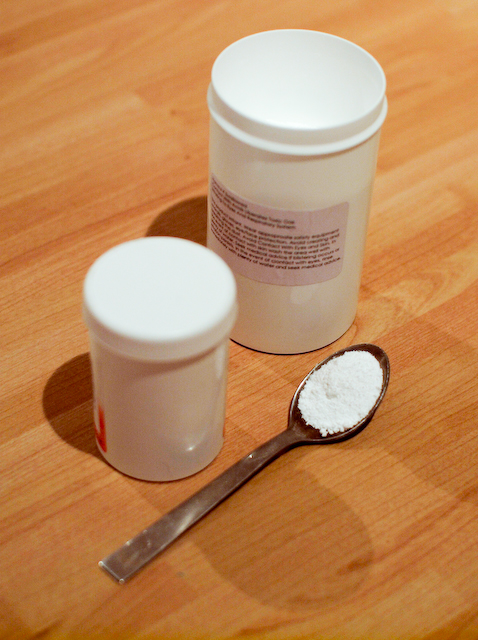
First of all you’ll need to gather some essential bits and pieces, I talked about basic equipment here. This stuff really is the bare minimum and shouldn’t set you back too much. Once you have it you’ll only need to make a few gallons of wine to return your investment. I can assure you it will be well worth it.
Nutrients, Acids and Other Additives
Just like in your kitchen where your cupboards are stocked with staples,. for the country winemaker apart from the actual ingredients you need to make the wine there is also a similar set of staples that you should always have to hand. When you have these things you’ll be ready to make any wine as soon as the ingredients are available, so what are they?
Yeast Nutrient: Yeast is a living organism that when added to a must (unfermented wine) will look to grow and reproduce. Having a lot of healthy yeast is essential to winemaking because they are the organisms that turn all the sugars available into alcohol. To grow and reproduce they feed on the sugar which will be in plentiful supply of course but also need other organic compounds to thrive. These organic compounds aren’t always present in enough quantity in fruit and especially flowers and vegetables. To get around this problem and ensure an adequate amount of healthy yeast are present we use a nutrient.
Yeast nutrients are readily available from your home brew store or online and contain various compounds to ensure your yeast can grow and reproduce at a fast rate and will ensure your wine doesn’t stop fermenting half way through.
Campden Tablets: When making wines with wild ingredients like fruit, flowers or vegetables there will be a whole variety of bacteria and wild yeasts present. Whilst they aren’t harmful and won’t make you sick they can spoil your wine turning it to vinegar which is of course unpleasant to drink. To prevent this a campden tablet can be added to the pulped fruit and will prevent those spoilage bacteria and wild yeasts from ruining your wine.
Once the campden tablet is added a compound called sodium metabisulphate is introduced to the ingredients which sanitises the must and destroys any wild yeast but has no adverse effects on the flavour of the wine. The must is left to stand for 24 hours then a wine yeast is added to get fermentation off to a flying start.
Acid Blend: A key factor to making a great wine is starting off with the right level of acidity in your must. Acid is needed to keep balance in the wine and also to provide the ideal conditions for the yeast. Yeast thrive in slightly acidic conditions and may be sluggish or slow to ferment if the level of acid isn’t quite right. Grapes are ideal for making wine as they have the natural levels of acid needed already in the fruit, other fruits usually have too little acid so wine makers can employ an acid blend to make up for this.
Acid blends are so called because they are made up of usually 3 different acids in varying proportions, the acids are citric, malic and tartaric which are all natural acid found in fruit. A lot of wine makers use lemon juice in their recipes to provide a boost in citric acid. Using acid blends however is a more convenient and efficient option.
Pectic Enzyme: Some fruits have high levels of pectin, a compound that allows people to turn fruit to jam. The problem with pectin in wine is that it can leave a wine permanently cloudy, whilst you can still drink the wine and it will be perfectly palatable adding one tablet will ensure this doesn’t happen and show your wine off at its best. Adding pectic enzyme to the fruit at the extraction stage will stop any pectin haze and also help extract more body and colour from the fruit you are using to give you a better wine.
Gather Your Supplies
If you have all of these things then all you’ll need to do when you get the urge to make a wine is get the flavour component (fruit, flower or vegetable), sugar and yeast and you’re ready to go. Meanwhile though have these things ready and you’ll never be stuck when it comes to getting a wine started.
Racking and Clearing A Wine
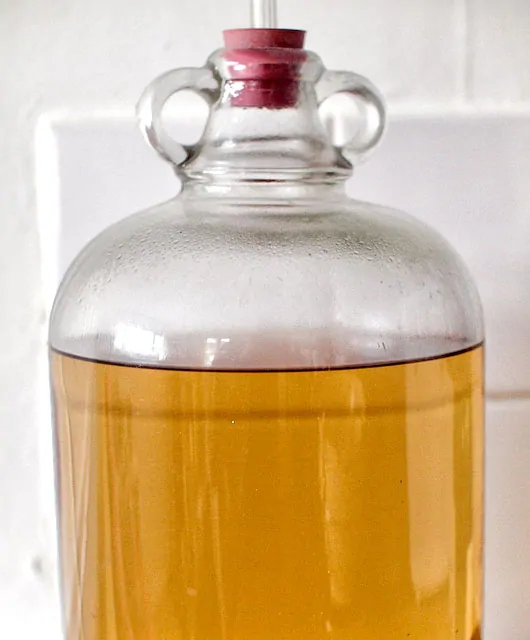
The wine may sit in a carboy or demijohn for a number of months as the yeast finish their tasks and slowly begin to fall to the bottom of the demijohn. It is this point we rack the wine to a new clean container for further clearing.
To make a good wine at home it needs to not only taste good but also look good. Give a guest or friend a glass of cloudy wine and they will have already made assumptions about it before it even touches their lips. This is why we need to take the time to allow the wine to clear and removing the wine from any debris or sediment after fermentation has finished.
Racking A Wine
When a wine is fermenting there will be a lot of yeast in suspension as well as other debris from the fruit as well as insoluble salts and compounds. It is this debris that gives our wine a cloudy appearance during fermentation.
As fermentation slows and comes to an end those yeast cells will begin to die and slowly sink to the bottom of the demijohn or carboy. Over the period of a month or two a layer of these particles and dead yeast cells will cover the bottom of the demijohn. When we see this happen we need to move the wine off the sediment, using a syphon to avoid disturbing the sediment, into a clean sanitised demijohn or carboy to continue clearing.
This racking process is usually done twice during the time the wine is in a demijohn but there are no hard and fast rules. Generally after fermentation is finished you should see a deposit of sediment (called lees) within a couple of weeks and the wine will be visibly clearer then during the height of fermentation. This is a good time to rack the wine for the first time, the second time will usually be a month to 45 days later, when another deposit is left and the wine is pretty much clear.
Every Wine Is Different
I have just said it’s usual to rack twice before bottling however some wines may be different and take longer to clear for one reason or another as a general rule rack the wine every 2 – 3 months as long as there is a fresh layer of sediment. Leave the wine on the lees for longer than 3 months and you risk the wine developing off flavours. If you see a layer of sediment then syphon the wine off it.
Achieving a Clear Wine
Once a wine has completely cleared and all signs of fermentation are long gone then it’s time to bottle the wine. At this point some wine makers stabilise the wine using potassium sorbate which will stop any kind of fermentation once bottled. It’s not strictly necessary but is something we’ll look at in the future.
Usually a clear wine will be achieved after a few months and racking it a few times into clean demijohns or carboys. On some occasions however you may have a wine that is stubborn to clear so you may choose to use a fining agent to speed the process along. A fining agent is a product designed to clear a wine, some wine makers use them routinely but they aren’t necessary on most occasions. There are various products available from your home brew supplier, if you do choose to use a fining agent just follow the instruction on the pack. I will write in further detail on different types of fining here soon.
Then, it’s on to bottling.
Making A Raspberry Wine
Making A Raspberry Wine
There is perhaps nothing quite as refreshing and delicate, yet full of flavour as a Raspberry wine. The delicate berries lend themselves to wine making very easily and give up their flavour, juices and colour readily. This makes raspberries an ideal fruit to use to make your first wine with.
Raspberry Wine
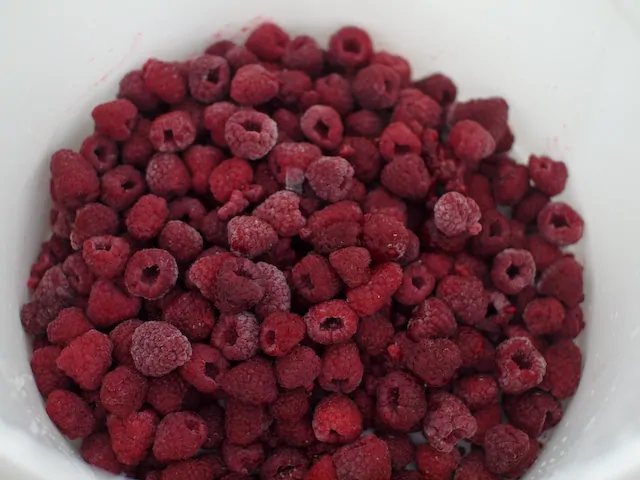
For my wine I have chosen to use frozen raspberries because it’s deepest winter at the point I am making it so I don’t have much of a choice. You can of course use fresh berries. There are benefits to using frozen fruit in wine though as the fruit is already partially broken down for you. If you are using any berry to make wine it’s a good idea to freeze it first anyway even if you have picked them fresh. Their cell structures get broken and the juices pretty much free themselves once they thaw.
Getting Things Ready
So you need some equipment to hand to start making your wine, check out this post for all the basic wine making equipment if you’ve never made wine before.
Everything that comes into contact with your wine needs to be clean and sanitised which is a simple enough task. Cleaning is self explanatory, give everything a wipe over, sanitising it however means we need to kill any bacteria or wild yeasts that may want to spoil the wine. The first thing we’ll be using is a fermentation bin, the easiest way to sanitise this is to fill it with luke warm water and add 1 tablespoon of ordinary unscented household bleach per gallon of water. Allow this to sit for ten minutes and rinse thoroughly. The same mixture of 1 tablespoon of unscented bleach to a gallon of water can be used to sanitise all your equipment before use, just make sure to rinse it thoroughly.
Making The Most From The Raspberries
So for our recipe we are going to make 3.75 litres (5 bottles) of wine from a kilo of raspberries. The recipe is for a dry wine of around 11%. Below is a list of the ingredients used:
1kg (2.2lbs) of Frozen Raspberries
1kg (2.2lbs) of White Sugar
1 Campden tablet (optional)
1 teaspoon Pectic Enzyme
1 teaspoon Mixed Acid
1 teaspoon Yeast nutrient
1 Sachet of Wine Yeast (I used Gervin no.5 White Label, which is a french wine yeast suited to fruit white wines)
Here is what you need to do:
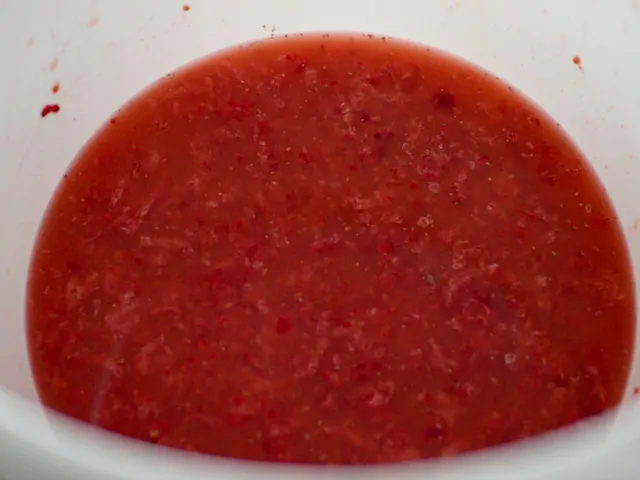
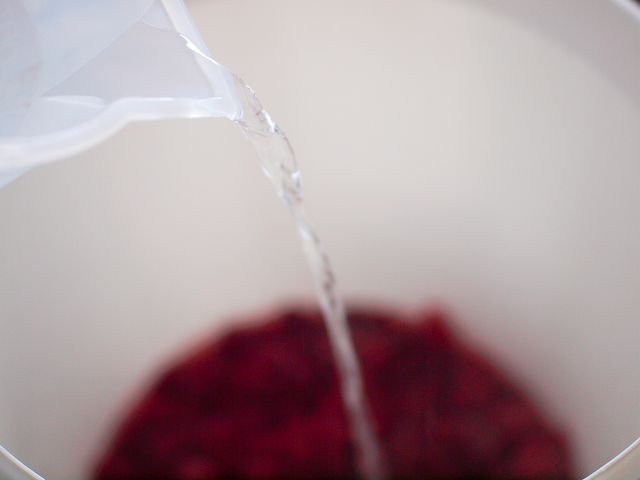
- Take your sanitised fermenting bin and add the frozen raspberries, 500g of sugar and pour over 1.9 litres of boiling water. Give it a stir to dissolve all the sugar and when cool enough you can begin crushing and squeezing all the raspberries with your hands (or a masher) until they are of a pulpy consistency The boiling water helps sanitise the fruit and kill any bacteria that may spoil the wine later on.
- Prepare a sugar syrup with the remaining sugar and 1.9 litres of water by heating in a large pan, stirring to dissolve and bringing to a boil. Boil for a few minutes and then remove from the heat and allow to cool
- Next up we can prepare the yeast by rehydrating it. There may be some instructions on your packet which are best to follow, if not then boil around 200ml of water and add to a sanitised jug with ½ teaspoon of sugar. Allow to cool to around 35°C or luke warm and sprinkle the yeast on the surface, cover and leave for 20-25 minutes.
- Now we are nearly ready to start the exciting part, fermentation. Open up the fermenting bin and add a teaspoon of pectic enzyme and of the mixed acid, then add the completely cooled sugar syrup and stir with a sanitised spoon to ensure everything is thoroughly combined. Now it’s time to add the yeast. Take the jug with the rehydrated yeast in and give it a swirl to make sure everything is in suspension. Go ahead and pour the whole lot into the raspberries and give it a good stir up. Cover this and if you have one attach an airlock to the fermenting bin, if not loosely cover with the lid to ensure no debris or insects can get at it.
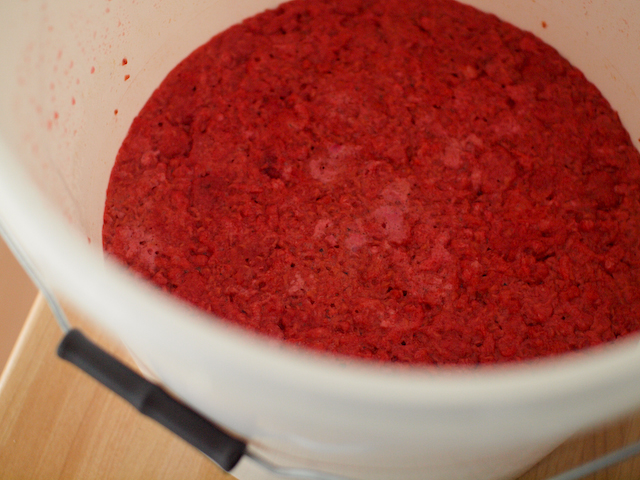
- After a day or even several hours your fermentation will begin. The yeast will reproduce and begin consuming the sugar and releasing CO2 and creating alcohol. The day after pitching you should see the raspberries all floating on the surface with foam. This cap needs to be stirred back into the wine once or twice a day for 5 days.
- After five days have elapsed we need to separate the wine and the pulp from each other and continue with the rest of the fermentation. Begin by sanitising your straining bag in a jug of boiling water for five minutes or so, we also need to sanitise a demijohn or carboy, funnel, and a bung and airlock. Whilst you are sanitising your equipment take another 500 grams of sugar and add to a pan with 1.5 litres of water. Dissolve it completely and boil for a couple of minutes.
- Place the funnel in the mouth of the demijohn and sit the straining bag in it. Pour the wine through the funnel gently and allow to strain through. Don’t squeeze the bag too much or you may force the pulp through. Once all the wine is in the demijohn add the cooled sugar mixture and if necessary top up the rest of the demijohn with water.
- The wine will continue fermenting for a week or two and then it will begin to settle down. After a few more weeks the yeast will begin to fall to the bottom of the demijohn and the wine will start clearing.
- When a layer of yeast has settled at the bottom of the vessel we need to move the wine off this sediment within a few weeks to avoid any off flavours and to help clear it further. All that’s needed is another sanitised demijohn and a syphon tube. Syphon the wine into the new vessel and leave until it’s completely clear. If you have never syphoned before then please refer to this article on syphoning.
- When the wine has cleared it is ready to be bottled, if you have a hydrometer check the final gravity, it should read around 1.000. If not sample the wine it should be dry, not noticeably sweet. You may want to rack the wine to a clean vessel before bottling to avoid syphoning any sediment into the bottle. Fill sanitised wine bottles and cork them, the wine should be left for at least 3 months if you can handle that long before sampling.

