Small Batch Milk Stout Recipe & Video
Table of Contents
Simple Stove Top Malt Extract Brew
There are occasions when home brewing, especially from an outside perspective, can seem complicated and require lots of equipment for someone who is just starting. What I wanted to do with this latest batch of beer, a milk stout, is show just how simple making beer at home can be. That is why I have done something I am not entirely at ease with and have no experience of, which is to film the brewday. Hopefully though in doing so you can see just how simple home brewing can be.
To simplify this batch I made a malt extract milk stout, so a beer that isn’t widely available but still is super easy to brew. I have also scaled down the batch to 9 litres which means you don’t need loads of equipment to actually brew the beer. I will follow up this post with the bottling and by the end, you’ll have 15 pints of homebrew.
Can We Make Home Brewing Simpler?
I have read in a couple of different places recently about the decline in interest in home brewing. Take a look at this graph and you’ll see, apart from the spike every December the trend is gradually moving downwards in terms of searches. Whilst there may be many reasons for this, such as the variety and accessibility of commercial beers available there may be other reasons why people are losing interest in home brewing or making their own beer.
Let’s face it, when you visit any forum or community of homebrewers much of the content is generated by people obsessed with brewing. It’s great for the community but much of the discussion is very niche or technical. For someone completely new to brewing it must seem like there are lots of rules to follow, things you must do, things you never should do and generally a lot of stuff that can possibly go wrong.
If making beer at home was more like making bread then I expect more people would give it a go. Making bread at home requires no specialist equipment, you can buy stuff that helps the process but you can still produce a loaf without having to spend a fortune. It takes time and effort, more effort than going to buy a loaf at the shop. Often your first few attempts aren’t that great, your loaf turns out to be too dense, not proven enough or the texture of a cake. It doesn’t cost a lot though to fail and try again so you keep at it. You attempt to bake bread a few more times and each time you get better. The bread looks and tastes better with each subsequent attempt until you reach a point where you stop buying bread at the shops or a bakery and you make your own. You experiment with different kinds of bread and additional flavourings, seeds or even sourdough bread.
Home brewing can be like this but that first hurdle is tricky, what I think tends to happen is you buy a load of equipment to make beer, it can be expensive and most brewing equipment is only good for one purpose. You make 5 gallons of beer which is ok but not really that good. It’s drinkable but not what you were expecting. Having around 40 pints of beer means you are in no rush to make more beer. The first batch took a couple of weeks to ferment and bottle so you put away your equipment and after a few months it’s still in the cupboard gathering dust.
Small Batch Milk Stout Brewday
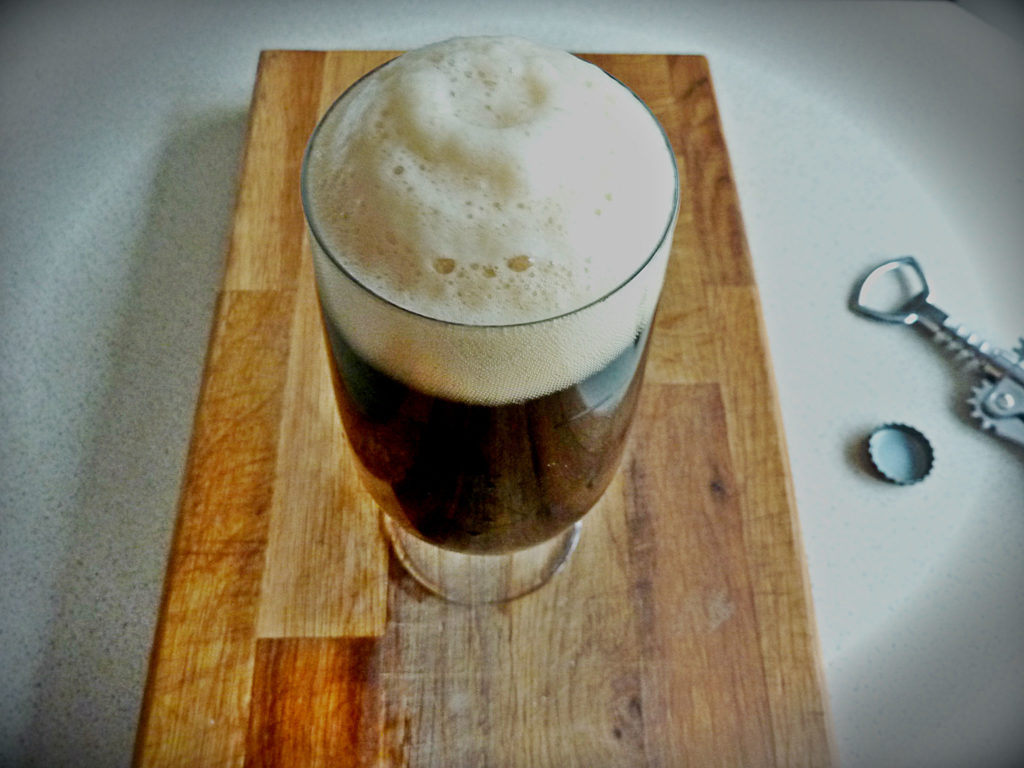
I designed this beer to be super simple to make, not take all that long (just a couple of hours) and not require too much equipment. The beer itself is a Milk Stout, so called because it is a dark beer that has an addition of lactose, the sugar that’s found in milk. The lactose sugar is added to the beer to maintain sweetness after fermentation. Yeast isn’t able to break down lactose so it is unfermentable, the sweetness that remains in the beer contrasts nicely with the bitter, toastiness of the dark grains we are using.
The reason why it’s a small batch is because most people have access to a small pot that they can use to make beer and you can brew on the stove in the kitchen. There are only a couple of extra things you need.
The Milk Stout uses malt extract, special malts and hops. Unlike a beer kit, this means you’ll get a feel for ingredients and what they do plus the lactose in the beer puts a little unusual twist on the finished beer that makes it a little more interesting.
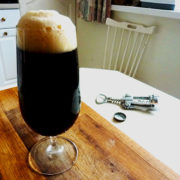
All in, the brewing of the beer took around 2 hours, I let it chill in the sink for a while and did other stuff and then just poured into the fermenter. It was one of the most relaxing and quick brew days I’ve had for a while even though I was trying to document the whole thing awkwardly with a camera.
The Recipe and Process
Milk Stout Extract - Sweet Stout
================================================================================
Batch Size: 9 L
Boil Size: 9.8 L
Boil Time: 60 min
Efficiency: 70%
OG: 1.055
FG: 1.011
ABV: 5.4%
Bitterness: 35.5 IBUs (Tinseth)
Color: 38 SRM (Morey)

Fermentables
================================================================================
                       Name        Type    Amount Mashed Late Yield Color
  Dry Extract (DME)                      1.200 kg     No   No   95%   8 L
        Chocolate Malt (UK)       Grain 140.000 g     No   No   73% 450 L
             Roasted Barley       Grain 140.000 g     No   No   55% 300 L
 Caramel/Crystal Malt - 60L       Grain 140.000 g     No   No   74%  60 L
       Milk Sugar (Lactose)       Sugar 120.000 g     No  Yes   76%   0 L
Total grain: 1.740 kg

Hops
================================================================================
    Name Alpha   Amount  Use       Time Form  IBU
 Fuggles  5.5% 30.000 g Boil 60.000 min Leaf 35.5

Yeast
================================================================================
                 Name Type Form    Amount   Stage
 Danstar - Nottingham  Ale  Dry 11.001 mL Primary
The actual brewday is pretty straightforward, take a look at the video and you’ll see everything I did. The step by step instructions are as follows:
- Heat 9.8 litres of water in your pot to 70°C (158°F)
- Steep the 3 types of grain in a grain bag for 15 minutes
- Remove and drain the bag
- Add half the malt extract
- Heat to boil
- Add hops and boil for 45 minutes
- Add the last of the malt extract and the lactose and continue to boil for 15 minutes (This totals a 60 minute boil)
- Turn off the heat and cool the beer in a water bath
- Sanitise all your utensils and fermenter
- When it’s cooled to 18-22°C strain the beer into the fermenter
- Add the yeast and ferment at around 20°C for two weeks
That is the brewing taken care of so that just leaves the bottling. I hope to have another video up soon. If you’ve enjoyed this one, let me know, comment or leave a like. Thanks


Well done Neil, that’s a good write up and should encourage more people to have a go at home brewing. I agree with you, a lot of folks are scared off because many instructions imply you are trying to knock all commercial breweries out of business. Keep up the good work, I’m off now for a pint of homebrew, or two, or three
Thanks Ralph, that’s what I like to hear, have a pint for me too!
I followed your recipe (with a few substitutions for things I couldn’t get at my local brew shop) about 6 weeks ago and have just sampled the beer. Absolutely delicious. It’s only my third brew but it’s the best by far! Thanks a million for sharing.
Glad the beer turned out well and hope you found the recipe simple to work through. Cheers!
Hi Neil. Firstly, I loved the ease of the recipe and the video was just what beginners like me need! Stout season has arrived so I’m really hoping it works out.
I started my brew on Tuesday and pitched yeast 8pm. I currently have no bubbles in the airlock 48 hours later. As it’s only 9 litres in a full size bucket I’m wondering if there’s enough co2 to fill it?? Also worried that it’s getting cool at night. Any tips please?
I think you are correct about the headspace in the large fermenter. It could also be worth checking if the fermenter is sealed correctly as the CO2 could be leaking out. Hopefully, it should be fermenting no, the only way to check would be a hydrometer reading.
Made this 19th Dec 19 and is just ready for drinking, what can I say? It is a really nice beer! Just perfect. Thanks for making this such an easy recipe to follow and such a nice beer to drink! Will be making some more. I used the CaraRed Malt, Medium dry spray malt and Coopers carbonating drops.
Really glad it came out well!
Hi!
We’re total newbies and have got this in fermentation. We started with OG of 1.53 and it seems that we’re pproaching the end at around 1.017 – is that acceptable for a milk stout?
Yes, this sounds correct. The higher residual gravity you have at 1.017 is because there is unfermentable lactose sugar in the recipe.
Hi Neil,thanks so much for this I’d like to start home brewing but found it difficult to know where so really enjoyed your video! Wondering if you could point me in the direction of a good equipment kit to get me started? Any tips very welcome. Thanks again
Hi Natalie, glad you found the site helpful. If you are in the UK I have found BrewUK, The Home Brew Shop good for equipment. Hope this helps.
Hi, I was thinking of having a go at this as part of my step away from kits and to exploring all grain. One thing I was uncertain of was the amount of sugar to use before bottling as I don’t want to create an overly fizzy drink, but do want some life in it.
Great videos by the way, you should do more – removes a bit of mystery from the process.
High Michael, this calculator will help you work out how much priming sugar is needed. All the best.
Hi Neil,
Made your London Porter recently turned out great.
Want to do the Milk stout but I want to make about 18litres probably a stupid question but can I use this recipe and double it? Cheers Grant.
Yes, scale up the recipe by doubling the ingredients
Hi, and when the fermentation process has finished what do you do next? Just fill in bottles or filter it first? Do you know, once bottled what is the shelf life? Thanks
There is no need to filter the beer. Once fermentation is complete and most of the yeast is settled fill bottles. The beer will be fine for a year or more.
Hi Neil, is it a Dark Malt Extract you use?
It is pale malt extract.