
Bottling and Capping
 Right, now we now need to get the beer from the fermentation vessel into the bottles. You will need a syphon tube for this (sanitised of course). Usually you will have a length of tube with a sediment trap on and a cane so you can push the tube to the bottom of the vessel. On the other end you can have a clamp type device to control the flow. One thing I would recommend is something called a bottling wand, instead of the clamp, you have a rod that when you push against the bottom of the bottle allows the syphon to work and when pulled away shut the syphon off. This device will make the whole process so much easier and smoother.
If you haven’t syphoned before then have a practice with some water, get the hang of the process and it becomes easy. When you are ready fill up all your sanitised bottles and work your way through all of the beer.
Capping
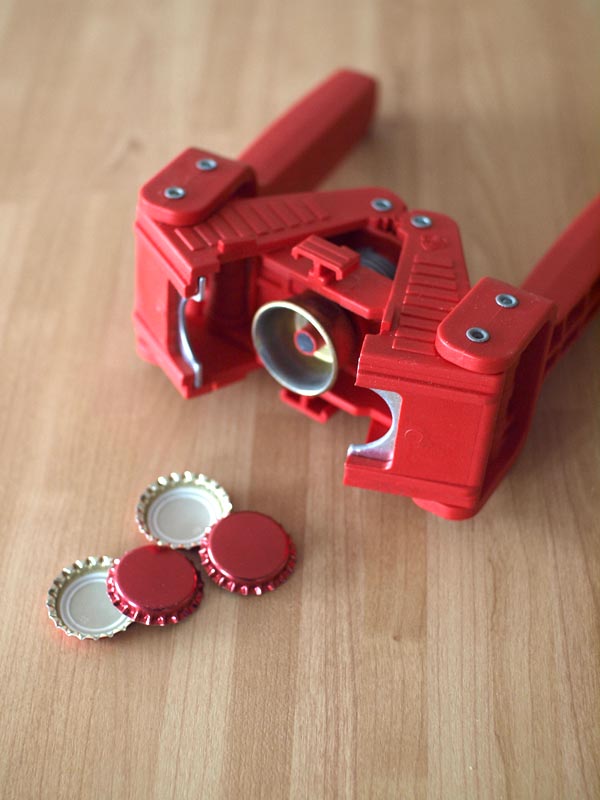
Finally we need to seal the bottles. Unless your are using screw top bottles you will need a device called a crown capper (these come in various shapes and sizes so ask at your home brew store) and of course some caps. Soak the caps in a sanitising solution before beginning. Make sure the beer is roughly an inch and a half from the top of the bottle we don’t want to much head space at the top and not full to the brim.
Seal the bottles using your capper or screw the lids on, you can do this as you fill each bottle to seal them as soon as possible so they aren’t exposed or at risk of spilling as you work.
Now it is time to have some patience, the priming sugar you added to the bottle will need to ferment, store the beer in a place at room temperature for about 10 days, this will allow time for the yeast to work and carbonate your beer. Around two weeks after bottling is an ideal time to try your first home brew.
There we have it, your first home brewed beer, once you have the first one down, try a different beer kit or maybe take a look at some more of the articles here and try some other options for brewing with raw ingredients.
Happy Brewing!