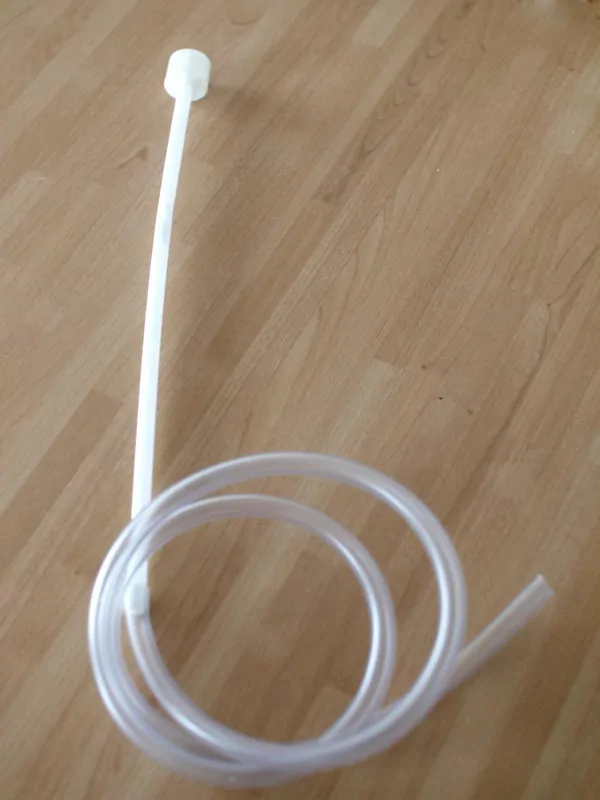
How To Syphon

Why You Need To Know How to Syphon Properly
The thing with home brewing is, you will mostly be making large quantities of beer that needs to be moved from one vessel to another. Whether that be from your boiler to the fermenting vessel or to keg/bottle. There are a couple of reasons why you will need or want to syphon, one is that pouring that quantity of beer or wort from one place to another is just not possible because it’s too heavy or just not safe, the other is that getting oxygen or air into the beer is not good. One of the common off flavours of beer (not just home brew, commercial beers too) is oxidation.
Oxidation will be present in all beer to some extent because it in the air but moving around beer and causing splashing or bubbling in it after fermentation will make oxidation much worse. The flavour most commonly associated with oxidation is wet paper or cardboard. Good syphoning technique can drastically reduce the exposure to oxygen and mean oxidation is not noticeable.
How to Start A Syphon
As you are probably aware there are all sort of bacteria that want to get into your beer and take over. Starting a syphon with you mouth by sucking it is not really a good idea here. We want to start the syphon with as little contact as possible. Here are the steps to follow:
- Take your clean and sanitised syphon block one end with your finger and fill it about 2 thirds full of water. Some would say to use pre-boiled water, I just use tap water. It’s up to you.]
- The vessel you want to syphon beer from has to be higher than the one you are syphoning into. Syphoning works with gravity the exit end of the syphon tube needs to be lower. Put the clear end into the beer, don’t let any water from the tube into the beer, if it’s too full, drain some water out.
- With the tube now in the beer, take the blocked end lower down than the fermenting vessel (or whatever you’re syphoning from and release your thumb.
- The water will drain out, so you need to catch it in a jug or something. At the same time beer will be pulled up through the syphon until it reaches the working end. Cover over the end and begin syphoning into the new vessel.
- Make sure the outlet end of the syphon tube is submerged in the new vessel as soon as possible. This will ensure the minimum amount of air can get into the beer. Basically don’t create any splashes.
Practical Tips For Syphoning
Reading the above points it makes syphoning seem complicated. I assure you it’s not, all it takes is practice. Before you start syphoning your home brew practice with water and get the hang of it. It doesn’t take long to master.
If however you want to make life a bit simpler there are some tips and gadgets available to make syphoning easier.
Using a detachable tube to get the syphon started is one such tip. All you need to do is take the tube of something like a turkey baster, which is tapered to one end. This narrow end can be inserted into the syphon tube and then you can suck to get the syphon started. Once it’s going just pull out the tube. This will remove all risk of sanitary issues.
The one thing I see many people using and having used one myself I can see why they are so popular, is the auto syphon. Basically it’s a syphon that you can get started by pumping a couple of times and away it goes. It does make life a lot easier and if you hate syphoning it’s a brilliant gadget.
Out of all the syphoning paraphernalia getting a racking cane and clip is I think the best way to make life easier. A racking cane is basically a rigid tube that attached to the inlet end of the syphon which means it goes straight to the bottom and you don’t waste any beer. It has a sediment trap on to stop to much trub or yeast being sucked up and the clip attaches it to your fermenter meaning you have your hands free. A simple solution to a simple task.
