
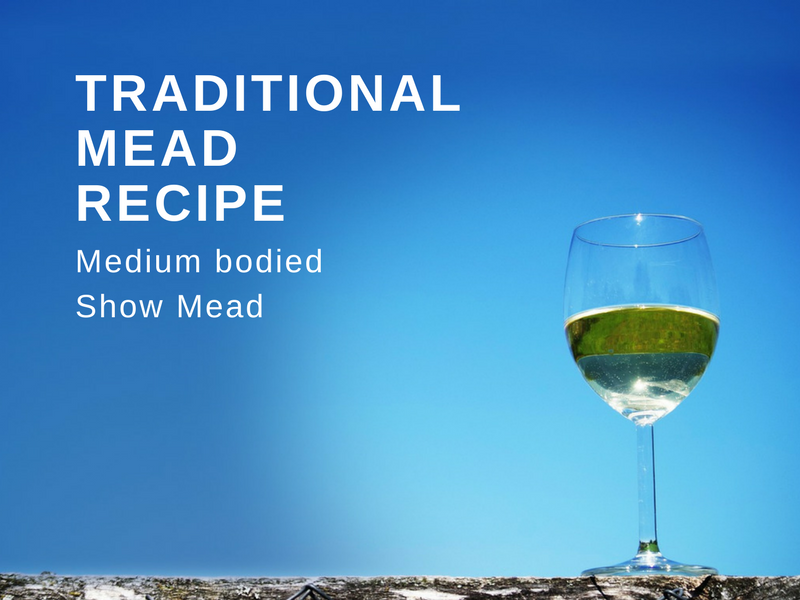
Traditional Mead Recipe – Medium Bodied Show Mead
Making a basic mead is a great way to start home brewing and this basic mead recipe is so simple anyone can easily do it themselves. It doesn’t require a lot of equipment to make mead and even fewer ingredients. What this mead recipe does need, however, is a bit of patience and selecting the best honey you can find.
If you have never made mead before then this is a great recipe to start with. It is not a showstopper with loads of ingredients and fruits added, although it can easily be adapted to that. What this mead recipe is, is a foundation for understanding what mead is, how a mead tastes and it produces a medium bodied mead that you will love with very simple ingredients.
If you are completely new to making mead then I should suggest you take a look at this guide to making mead. It covers the main ingredients, variations of mead as well as the equipment and steps to making your first batch of mead. This article will cover some of those things but it is mainly to give you a basic mead recipe.
Table of Contents
Basic Mead – The Foundation For All Other Mead Recipes
Honey wine or mead straight up and as basic as it comes sometimes gets a bad rap for being slightly boring. It is, after all, just honey, water and yeast in most cases. Fruit meads or melomels get lots of fanfare and of course they have many more variations and interesting things you can do with them, however, a basic mead can be a thing of beauty.
The key thing to invest in when making a straight mead wine is good, varietal honey. The best you can find or get your hands on. This is where all the flavour comes from so choosing a delicious honey, to begin with, will make a better mead in the end.
Find The Right Honey
A varietal honey is made when the bees are collecting nectar from particular plants. There are hundreds of varietal honey, some of the most common ones you may have heard of are clover, orange blossom or acacia among hundreds of others. These types of honey range in colour and flavour and this is what will make the difference to your finished mead, so choosing the right one for this recipe is a big part of the process.
Whatever type of honey you choose this mead recipe is made in the same way so this is the chance to find something you really like to make your mead shine.
The Right Yeast & Nutrients For Your Mead
Picking a yeast is the next thing you need to get right to make a top quality mead. I have found Lalvin D47
a great strain for making mead and I know a lot of other people do as well, looking at recipes online.
Lalvin D47 is a white wine yeast that works great in meads. It performs consistently at a temperature range of 15°C – 20°C (59°F – 68°F) and leaves body in the wine as well as a nice balanced mouthfeel.
To ensure the yeast have suitable nutrients to ferment all the honey we need to add yeast nutrients. Honey alone doesn’t have the required nutrients for the yeast to reproduce and ferment all the available sugar. Without nutrients, the yeast is likely to stall before finishing fermentation and ferment the mead poorly. Simply adding a teaspoon of yeast nutrient is enough for a gallon batch of this traditional mead.
Acid is Important For Meads
Balancing a mead takes a little bit of tinkering. I like to add a small amount of acid blend to my mead after sampling at the end of fermentation. Adding acidity helps lift the mead which can seem a little flat otherwise.
The acidity in wines is a major component of how we perceive it. Some people like more acidity than others and some honey taste different to others in each mead recipe. This is why I like to add acid after fermentation. You can tailor the amount you add to the taste of that particular batch.
In most cases, a dosage of acid blend between 1/4 and 1/2 a teaspoon per gallon (4.5 litres) is enough. Simply mix the acid with a small amount of the mead to dissolve and then mix into the batch.
Mead Recipe
Before you begin making your mead make sure you clean and sanitise your equipment before it comes into contact with the mead.
Some recipes call for pasteurising the honey by heating with the water as a precaution, this isn’t strictly necessary and if you pitch enough yeast then any spoilage bacteria are quickly overwhelmed. As this recipe is for a 4.5 litres one sachet of yeast is enough.
Equipment You’ll Need For This Mead – Makes 1 Gallon / 4.5 Litres
Small Fermenting Bucket
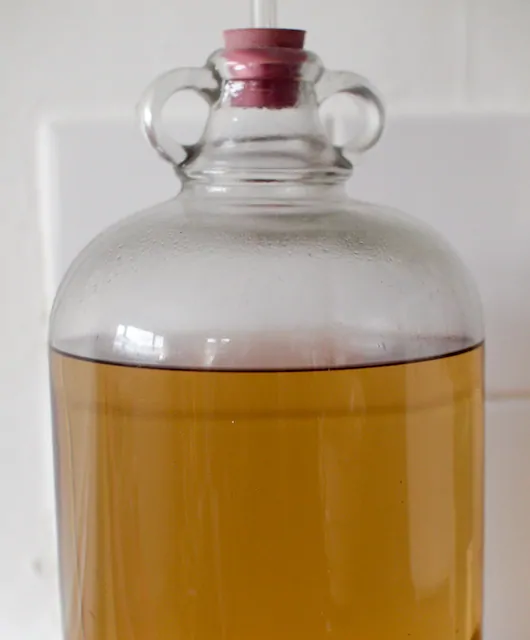
1 Gallon Demijohn / Carboy
Siphon
Bung & Airlock
Hydrometer
Thermometer
Mead Ingredients
1.3kg of Good Honey (preferably varietal or your favourite)
4.2 litres Water (collect and leave overnight to dissipate chlorine)
1 tsp Yeast Nutrient
1/4 – 1/2 tsp Acid Blend to taste
1 sachet of yeast (we recommend Lalvin D-47)
Mead Recipe Method
1. In the fermenting bucket add half the water and then stir in all of the honey to thoroughly mix add the yeast nutrient and then the rest of the water and once again stir to thoroughly mix. You can take a hydrometer reading at this point should you wish.
2. Make sure the must is between 15°C – 20°C (59°F – 68°F) and find a suitable place to keep the fermenter where it will maintain this temperature. Add the yeast to the mead by sprinkling onto the surface, there is no need to stir. You can rehydrate the yeast according to the packet instructions before pitching for good results.
3. Fit the lid and an airlock to the fermenter and leave to mead to undergo primary fermentation. This vigorous fermentation should last roughly a week or more.
4. After the initial burst of activity has died down or at around 12 days we want to transfer the mead to a demijohn/carboy. Transfer carefully using a siphon to avoid splashing. The demijohn should be full, fit a bung and airlock and leave the mead to condition.
5. You will want to condition the mead for at least 3 months or longer. Rack the mead to a clean demijohn as sediment builds up at least once or twice during this time. You can take this time to take another hydrometer reading should you wish and sample the mead. If you find it needs more acidity add acid blend in small amounts until you feel the mead is balanced. This is personal, you may find you need no acid addition or very little. It is best to add a little rather than too much.
6. After conditioning and clearing completely, package in bottles and cork or cap. The mead will continue to get better for years as it ages so try and keep hold of some for at least a year or more.


Just to note that it is an imperial gallon that is discussed, which is larger than a US gallon by approximately 750 ml., I believe.
That is correct, thanks.
Would this leave you a sparkling mead as it has been conditioning in the demi or would you have to add some sugar prior to bottling ?
It wouldn’t be sparkling. As you suggest you would need to add priming sugar before bottling with either caps or corks and cages.
Could one add a teaspoon of honey to prime the secondary fermentation?
You can use honey to create a sparkling mead. This calculator will tell you how much you’ll need for your batch size – https://homebrewanswers.com/priming-sugar-calculator/
You will also need to secure the bottles with crown caps or corks with cages.