
Whirlpooling Beer – How To Whirlpool Your Beer After The Boil
Getting to grips with brewing, especially after doing basic kits means learning a lot of techniques and new terminology. A whirlpool falls into this category, what at first seems opaque and technical is a relatively simple process once you know what it is. In this article, we will cover what whirlpooling a beer means, what it does and whether we homebrewers really need to do it.
Table of Contents
What Is Whirlpooling?
Whirlpooling beer is a technique primarily used by commercial brewers that has equal application for home brewers.
Basically, it helps to separate hop particles and trub (gunk that forms in the wort boiling) from the wort before being transferred to the fermenter. The obvious benefits of this are to remove as many of the particles out of the wort before adding the yeast.
The way in which this is done is by creating a whirlpool in the wort.
Commercial breweries can create a whirlpool by pumping wort into a vessel at an angle that encourages the wort to spin as if being stirred. This spinning motion creates a centripetal force that means the hop particle and trub collect in the centre of the vessel or kettle in a cone-shaped mass.
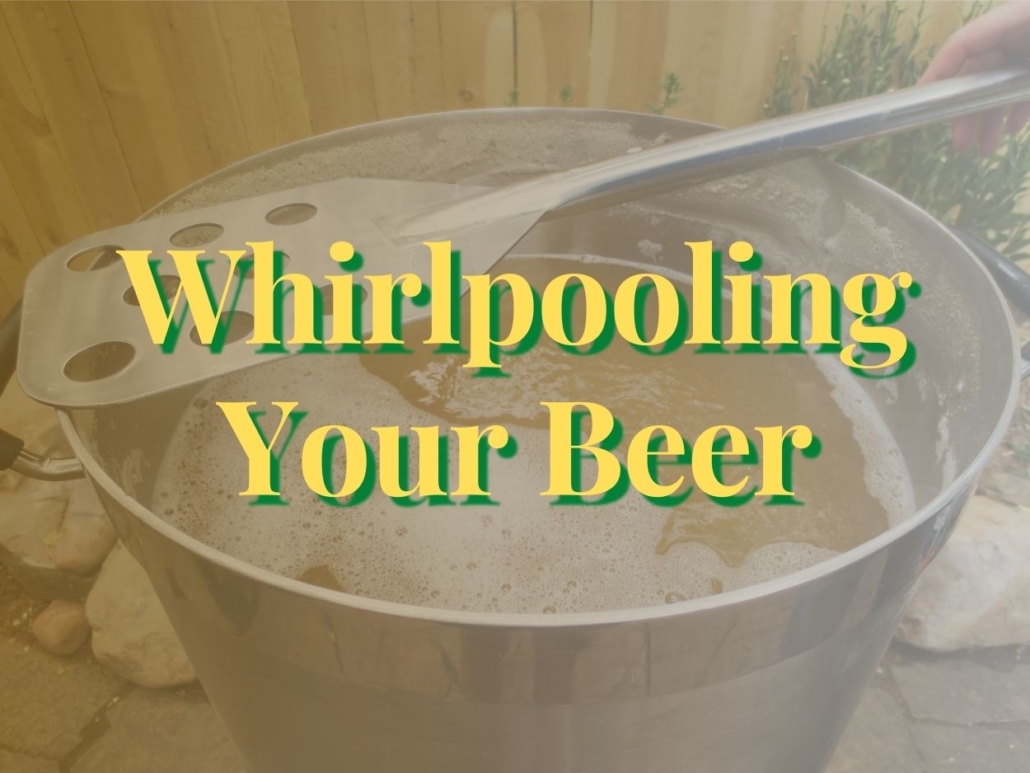
Similarly to commercial breweries home brewers can create the same force in the boil kettle simply with a long spoon. Stirring the wort to create the motion and then allowing the trub and hops to settle for 10 minutes or so.
Once everything has settled after whirlpooling the wort can be transferred to the fermenter by pump or syphon (or outlet at the bottom of the kettle) leaving behind the trub in the bottom of the kettle
How To Whirlpool Your Beers
As mentioned above, whirlpooling your own beer is really simple. Right after you have finished boiling the wort you take it off the heat and then can start to whirlpool.
The idea is to create a circular motion in the kettle and all you really need is a long-handled spoon to stir the wort.
Start slowly at the outside of the kettle and begin stirring. As the circular flow begins to start, speed up a little. Keep stirring for a few minutes trying to maintain the mini-whirlpool without too much splashing. After stirring, allow the wort to stand for 10 minutes to allow all the particles to settle to the bottom.
The wort can then be transferred off of the trub and chilled or an immersion chiller can be used in the kettle before transferring.
Bear in mind that as you transfer out of the kettle the trub which will be a cone shape will start to move as the wort reaches it. Syphon at the very edge of the kettle to keep as much trub out as possible.
What Does Whirlpooling A Beer Actually Do?
Some people may argue that whirlpooling is not necessary and I’m sure there are some homebrewers that dump the whole contents of the kettle into the fermenter but there are definite benefits of whirlpooling.
Removes Hops & Trub Before Fermentation
In my experience, it makes sense to remove as much debris from the wort before fermentation. Trub contains all the material that has precipitated out of the wort during boiling and has some yeast nutrition but it is a waste material that needs separating from the beer at some point. The easiest point to do it is during the whirlpool before it goes into the FV. There will always be some trub and hop debris that makes its way to the fermenter but having too much seems like a recipe for creating off flavours or muddying the flavour of your beer.
Removes The Need For Filters, Strainers, etc.
If you aren’t whirlpooling then you need another way to separate hops and trub from the wort. This might involve something as simple as a strainer but could involve straining devices that are expensive and a chore to clean.
Almost all homebrewers have a long spoon so whirlpooling is the easiest option.
Allows Faster Cooling
At a homebrew scale, if you have an immersion chiller it makes sense to whirlpool and then set the chiller in the whirlpool. The movement of the wort around the chiller will cool the wort quicker.
The whirlpool is also a good time to add aroma hops that you want to be bright and highly aromatic as the lower temperature in the whirlpool will retain more of the volatile aromatic compounds that are driven off at higher temperatures.
Do You Need To Whirlpool?
In short, no you don’t have to perform a whirlpool in order to brew your own beer.
The primary reason to whirlpool your beer is to remove the hop and trub material before fermentation. It is perfectly possible to use a straining device to do this or even an old sieve.
You may encounter more problems using a straining device as the small particles tend to block them but once you have found something you are happy with you can incorporate this into your brew day with very little fuss.
I still whirlpool my beers as it is so simple but I always recommend you proceed with whatever you find simplest.


Leave a Reply
Want to join the discussion?Feel free to contribute!