
Bottle Conditioning Your Best Beer Yet!
Bottle conditioning is a mysterious process. Things are happening in the bottle without any visible signs of activity.
The name bottle conditioning is descriptive enough for us to know that this period of the brewing process is important for the final flavour of the brew.
Making sure you are bottling correctly and the environment where you are allowing the bottles to condition can make a big difference to the finished beer so this article is going to guide you through things to keep in mind.
Table of Contents
Basics of Bottle Conditioning
The truth of it is though is pretty much every new home home brewer will bottle their first batch. It just isn’t practical to have a keg setup and spending money on something when you are only just starting out.
I bottle all my beer. I don’t have any kegs and I don’t plan on getting any. I love bottled beer and take the time to make sure my bottling procedures are good. Sharing beers isn’t any easier than just giving someone a couple of bottles to take home.
Mastering the art of bottle conditioning or at least knowing enough to make sure your beer tastes as good as it can be is vital. You don’t want to spend all that time developing your recipes, brewing and fermenting only to detrimentally affect the beer when it comes to bottling.
Bottling The Right Way
If you are completely new to bottling your beer, first you should check out this article. This will run you through the basics. Priming your beer, transferring and filling your bottles. Once you’ve got the basics down, come back and take a look at the rest of this article.
There are a number of variables that can affect the beer as it’s conditioning in the bottles. Some things are simple such as choosing the bottles.
Choosing The Right Bottles To Condition Your Beer In
When you select your bottles you preferably want dark brown bottles.
Off flavours caused by light-strike or light affecting the hop compounds in beer will create a skunky type of aroma.
Green and clear bottles let through the light waves that cause the most problems. Dark brown bottles are the way to go and storing the bottles in a dark place or box avoids these problems altogether.
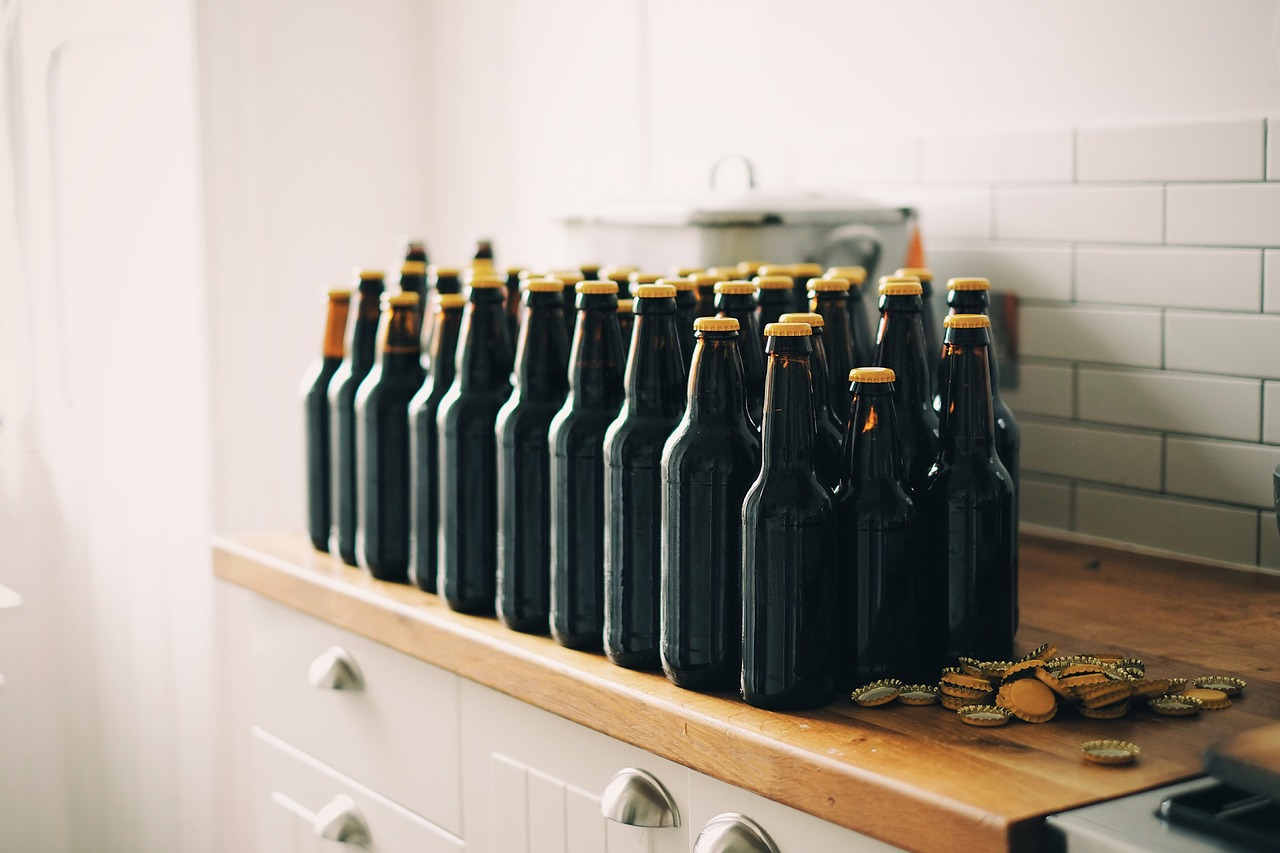
The next basic thing is cleaning and sanitising bottles. If you reuse bottles they need to be clean.
As a rule, I always clean the bottle directly after pouring a beer out of it, store the empty dry bottles in a covered box (so dust can’t get in).
The main benefits of kegging are there is only one vessel to clean and sanitise. If you start with clean bottles though bottling isn’t that hard. I recommend a bottle rinser with starsan and a bottling tree.

Beer Carbonation Problems
Some new to brewing find they have problems getting the beer to carbonate in bottles. This is usually a simple issue to resolve.
The whole idea behind bottle conditioning is to re-ferment in the bottle. The requirements of re-fermentation are temperature, time and fermentables such as sugar.
Conditioning Temperature
I guess what happens a lot is someone new to brewing will bottle the beer after fermentation and then put it somewhere out of the way and cold.
The yeast, of course, then falls out of suspension and goes dormant without carbonating the beer. The yeast still needs to be at a temperature similar to that of fermentation. Some breweries will bottle condition at slightly warmer temperatures up to 25°C
Time
The next thing carbonation need is time. It takes as at least 2 weeks to achieve proper carbonation and sometimes longer. Don’t worry if your home brew isn’t carbonated fully before then.
If you are brewing higher ABV beers above 7 – 8% you may want to consider dosing the beer with fresh yeast.
The yeast used during fermentation will be ok to bottle condition but may take longer than for a lower ABV beer. The healthiest yeast will have flocculated and settled out. Re-dosing will introduce healthy, viable yeast to bottle condition with.
The same goes for beers that have been sat in the fermenter for a while i.e. longer than 4 – 5 weeks. Re-dosing with fresh yeast will give better results than relying on stressed, less viable yeast.
Bottle Conditioning Needs Sugar
Priming the beer itself is simple enough. I almost always use dextrose as it doesn’t introduce any new flavours and is a simple sugar that is easy for the yeast to consume.
You should definitely be weighing out your priming sugar, not adding a teaspoon per bottle. Use the guide I have linked to on carbonating your beer and measure the sugar for best results.
Residual CO2 and Priming Your Beer
I will mention that there will be residual carbon dioxide in the beer from primary fermentation.
Some brewers will dose the beer with priming sugar without considering this and as a result it will become overcarbonated. The temperature of the beer in the fermenter will affect how much carbon dioxide is still in solution.
This chart below details how much CO2 is left according to the temperature. If you use a calculator to work out carbonation be sure it adjust for residual carbon dioxide, if it doesn’t you can adjust it manually.
| Temperature °C | Temperature (°F) | Volumes CO2 |
|---|---|---|
| 8.33 °C | 47°F | 1.21 |
| 10.0 °C | 50°F | 1.15 |
| 11.7 °C | 53°F | 1.09 |
| 13.3 °C | 56°F | 1.04 |
| 15.0 °C | 59°F | 0.988 |
| 16.7 °C | 62°F | 0.94 |
| 18.3 °C | 65°F | 0.894 |
| 20.0 °C | 68°F | 0.85 |
| 21.7 °C | 71°F | 0.807 |
| 23.3 °C | 74°F | 0.767 |
| 25.0 °C | 77°F | 0.728 |
| 26.7 °C | 80°F | 0.691 |
| 28.3 °C | 83°F | 0.655 |
via BYO
How Much Carbonation?
This is a personal thing. There are guidelines that list the level of carbonation according to beer style but that doesn’t mean you need to stick them.
I know for myself that I prefer less carbonated beers. It may be a mixture of the mouthfeel or the change in flavour. After having tested and tried lots of different priming rates I know for myself I prefer moderate levels of carbonation in my home brew.
Certain styles of beer definitely work better with more carbonation. Hoppy IPA’s for example need moderate levels of carbonation for the hops to really shine, low levels of fizz don’t work as well. Experiment and find what works best for you.
Bottle Conditioned Beer
Aging bottle conditioned beers is a good way to see how flavours change over time. Filtered and pasteurised beer is stable but bottle conditioned beer evolves and subtly changes as time goes by.
Set aside some bottles from every batch and experiment, higher ABV beers are great to try one or two years down the line. This is something you couldn’t really accomplish from a keg beer.
Bottle conditioning isn’t just a home brewing thing. Small microbreweries and even larger commercial breweries have adopted bottle conditioned beer, primarily because it’s the most economical to get out into the market.
With more and more breweries opening in the UK and US. I believe we’ll see a trend towards less filtered pasteurised beer and more acceptance for bottle conditioned beer.


Leave a Reply
Want to join the discussion?Feel free to contribute!