
How To Pitch Yeast
When you have been homebrewing for a while you become accustomed to a particular way of doing things. Pitching yeast, for example, is a simple process but there might be lots of different ways one home brewer might differ from another.
The phrase pitch yeast is slightly ambiguous and if you are making your first beer, wine or mead it can lead to all sorts of questions and worries about doing the right thing.
In this article, we are going to attempt to make things clear on what exactly it means to pitch yeast and what the process actually involves.
Table of Contents
How To Pitch Yeast
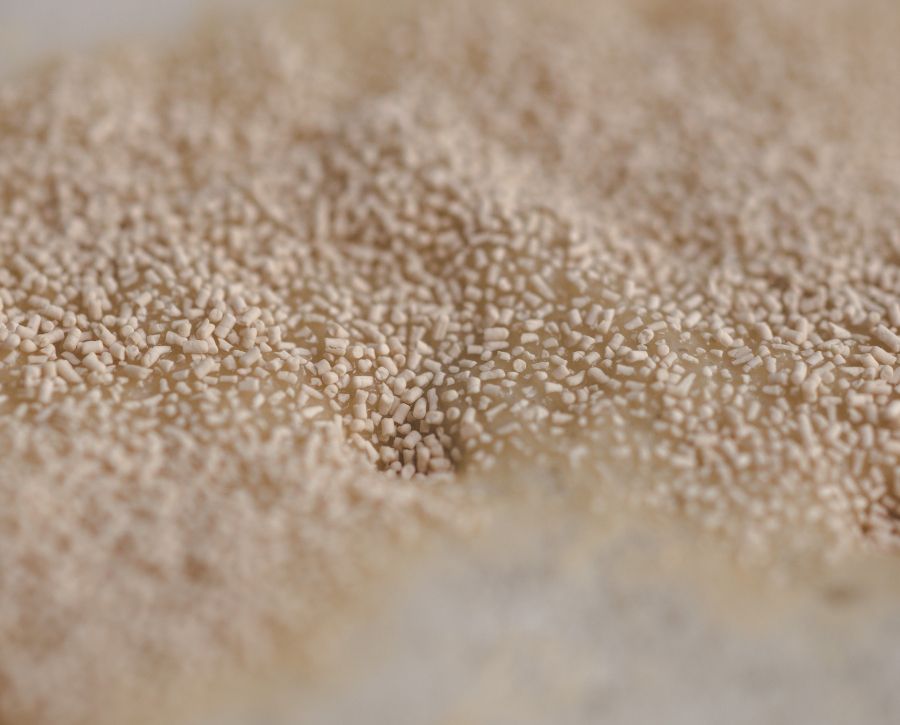
In its simplest form pitching yeast is adding yeast to beer wort or wine must. If you are using dried yeast then you sprinkle it onto the surface of the liquid, if you are using liquid yeast you tip it straight in. That is all there is to it.
In most scenarios, this is fine and will produce good results so why are there all sorts of different methods and processes involved in pitching yeast?
There are still unanswered questions though, and instances where just doing the above may not achieve the best results so let’s answer some of those questions.
Do You Need To Stir Yeast In?
Beer and winemaking involve a lot of stirring at various points in the process so I suppose the natural tendency is to want to stir the yeast in when you add it.
You do not need to stir in the yeast.
Dry yeast can look deceiving when you add it to wort or must as it will spread out in a big layer on the surface. If you are brewing beer it may sit on top of the bubbles and foam on the surface of the wort.
The first instinct is to stir it in but, in fact, leaving it is best practice. Dried yeast take a few moments to rehydrate, by which point they swell and eventually fall into the solution where they reproduce and effectively colonise the beer or wine. The act of fermentation creates gases and the whole vessel naturally mixes itself.
Stirring yeast requires a sanitised spoon or paddle which requires an added step and dry yeast, in particular, tends to clump together and actually make things more difficult to mix.
There will not be a problem if you do stir it in, it is just unnecessary.
Can You Pitch To Much Yeast?
I see this question asked frequently and it does seem a valid concern.
Pretty much all yeast packages have recommended dosage amounts so this is the best thing to work from.
Depending on the size of the batch you are making you may be pitching more than you need. For example a 3-gallon batch and pitching a whole sachet of yeast.
This kind of over pitching is not going to be a problem at all and will result in no real discernable differences.
If you are pitching a whole yeast cake full of slurry from one batch into the next it may be overdoing it and could leave undesirable flavours in the beer but the beer will still be drinkable.
In most cases pitching too much yeast is going to be less of a problem than pitching too little. Underpitching will produce more esters and potentially off-flavours.
The best thing to do is to read the package of the yeast you are using which will have the dosage written on it. This will be the amount you need to pitch for best results. A step further would be to check with a yeast pitching calculator such as this one.

What Temperature To Pitch Yeast?
Pretty much all yeast packaging has recommended pitching temperatures, if not, the yeast lab website will usually list them.
Typically you would have different pitching temperature depending on the strain of yeast and the temperature ranges can vary for each of these categories quite widely depending on the particular strain:
- Ale yeasts are pitched around 18 – 22°C
- Lager yeasts are pitched around 9 – 15°C
- Wine yeasts are pitched around 15 – 25°C
- Cider and Mead yeasts are pitched around 15 – 24°C
Pitching Enough Yeast
A key aspect of making good beers and wines is to ensure you are pitching enough yeast. As suggested previously, most yeast packages state how much beer or wine they are intended to ferment.
To further ensure we are pitching a healthy amount of viable yeast we can do a couple of things:
- Rehydrating dried yeast
- Making a yeast starter
Should You Rehydrate Yeast?
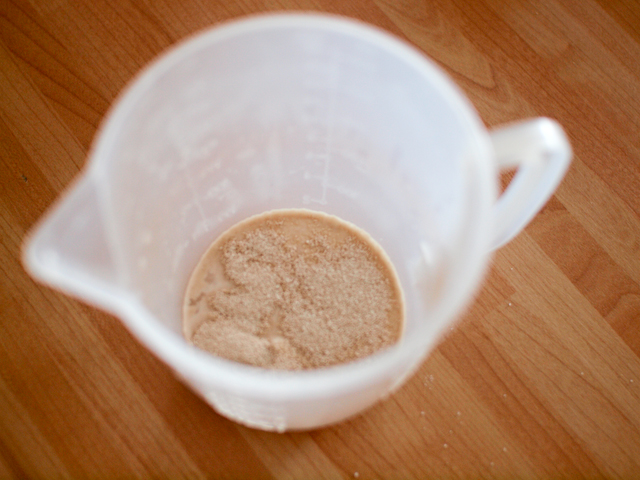
Rehydrating dried yeast is a simple process that helps to keep more yeast cells alive at the point of pitching them.
Allowing yeast to rehydrate in water rather than a sugary liquid like wort or wine must is a much gentler and more hospitable environment.
Nearly all yeast manufactures package enough yeast cells to ferment a standard batch size without rehydrating them so is it necessary?
Rehydrating yeast will often mean fermentation starts quicker and less undesirable flavours are created during fermentation of stronger or larger volumes being fermented.
If you are brewing a stronger than average beer or you happen to have a slightly older package of yeast, rehydrating the yeast will be helpful.
A full guide on how to rehydrate yeast can be found here.
Should You Make A Yeast Starter?
Dried yeasts often don’t require starters unless you are brewing a volume larger than 5 gallons or a particularly strong beer. There is an argument for just pitching more than one package in these cases rather than making a starter.
A starter increases the number of yeast cells being pitched and grows the yeast count before being pitched into a beer. This prevents off flavours and lag time so a starter is beneficial.
Yeast starters are a good idea, especially, if you are using liquid yeast.
Most vials or packages of liquid yeast contain just enough yeast cells to ferment a 5 gallon batch. They are, however, a lot less stable than dried yeasts and the yeast can lose viability the longer it is stored.
To make up for this, a yeast starter can be prepared ahead of pitching the yeast to increase the yeast cells so a large part of the growth phase happens before the yeast are pitched into the beer.
A guide to preparing a yeast starter can be found here.
Can You Save Yeast?

Reusing yeast is a great idea and very cost effective. It also means you are going to be pitching much more yeast than would be in a store bought package of yeast.
The easiest way to harvest yeast at a home brew scale is to collect it from the bottom of a fermenting vessel after racking the beer or wine off the yeast cake.
The yeast can be spooned out with a sanitises implement and either pitched directly to a new vessel or stored in a sanitised jar or container for a few weeks in the fridge. Venting the container every day may be necessary to avoid a build up of CO2.
A guide to reusing yeast can be found here. It explains the best practices and when you might not want to reuse yeast for example when brewing beer or wine that is particularly strong or flavourful that would impact the new batch being brewed.


Leave a Reply
Want to join the discussion?Feel free to contribute!