
Storing Malt, Storing Hops & Storing Yeast
If you are anything like me then after a little while of brewing you will end up with a whole box full of malt and other grains that have been used in other beer recipes and now reside half used until you buy another bag of the same stuff because you forgot you had some.
Table of Contents
Storing Malt
Storing malt is a question I see being asked a lot in home brew forums around the web, I have done a bit of research on it myself so wanted to address it here.
When you start brewing you will inevitably accumulate different types of malt, grains, and adjuncts, you will use these in whatever recipe you purchased them for then the remainder needs to be stored. All-grain home brewers especially are often buying grains in quantities of up to 25kg so making sure this malt is in the best condition, ready for your next home brew is vital to consistently make good beer.
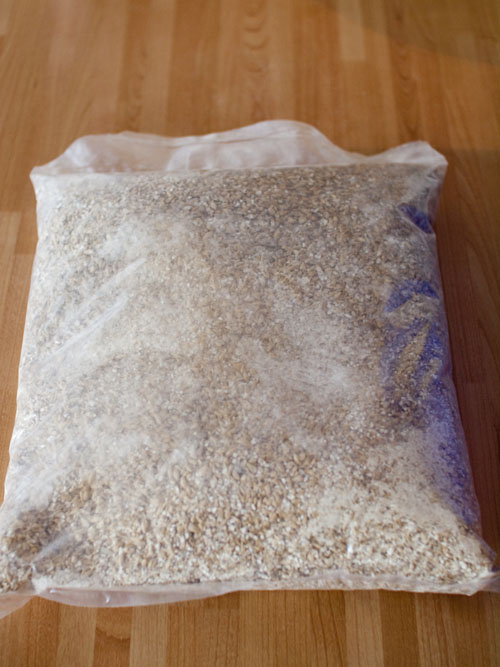
The main thing to bear in mind for storing grain over any period of time is too keep it dry, because of the way it’s manufactured and processed via kilning malt usually contains around 4 – 8% moisture. Over time if the crushed malt (this is how it’s usually sold in the UK) is left exposed it will start to absorb moisture from the air and it obviously a lot more likely to spoil and deteriorate.
The easiest way to store malt is too keep it sealed and limit the exposure to the air. You can buy airtight containers or ziplock bags for this purpose and they will easily ensure the longevity of your stored malt. I myself have a bag sealer which allows easy resealing of the bags the malt are supplied in by the home brew retailers, as soon as I’m done weighing the quantity required for whichever beer I’m brewing, I can reseal the bag.
Trying to keep the malt in a cool, dark place seems to be the general preference for most brewers to store the leftover grain. In a cupboard or something similar should be fine.
Like any raw ingredient the fresher you use it the better your resulting home brew will be, however storing malt in this way I have used small quantities of seldom used grains, up to 12 months after purchase.
It’s always the way that after picking up the ingredients for your next batch that you end up with a load extra malt or hops that have to sit around for awhile until you brew another batch that calls for them.
Storing Hops
So storing malt is pretty easy right, but what about hops, usually I purchase hops in 100 gram vacuum packs and it’s not often that I use 100 grams of any hop in a batch. So In this post, I want to share with you some of the options for storing these excess hops.
The Thing About Storing Hops…
Although malt can become stale over the time it tends to be a lot more stable than hops when it comes to short term storage. Hops, on the other hand, a pretty unstable and especially after being exposed to the air they begin to deteriorate in terms of the aromatic oils that flavour the beer and also the alpha acids that provide bitterness.
Take a look at this excerpt from a Brewing Techniques article on the deterioration of hops:
Hops start to lose their a-acids and oils as soon as they are harvested. The rate of loss depends on the storage temperature, the amount of air present, and the hop variety. The lower the temperature, the less the hops deteriorate. It has been shown that the rate of loss halves for every 15 degrees C (27 degrees F) drop in temperature (2).
Oxygen is definitely bad for a-acids; their oxidation components are responsible for the “cheesy” aroma detected in old hops (1). Oxidized a-acids lose their bitterness and cannot be isomerized. Because b-acids form bitter compounds when they are oxidized, some believe that this result of oxidation makes up for the loss of b-acids.
So from this, we can assume that the best way to store hops is as cold as possible which would be in the freezer. So as soon as you get your hops home the best thing to do is leave them sealed in the packaging (which we’ll talk about in a second) and chuck them in the fridge until your ready to use them.
What About Left Over Hops?
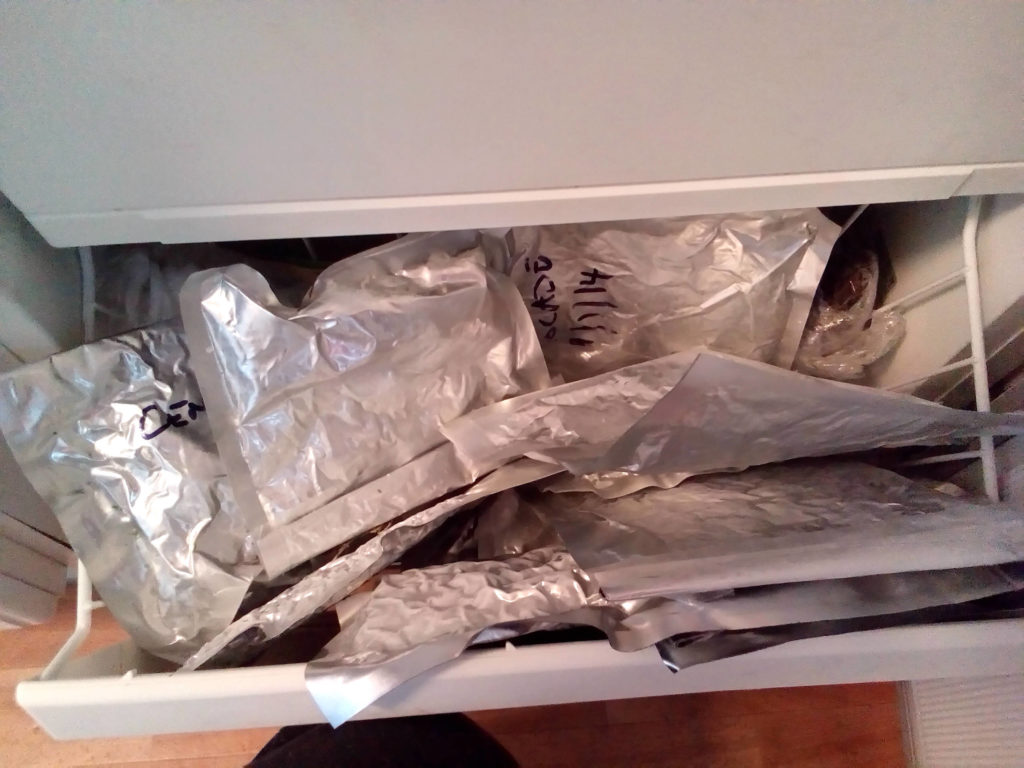
The best way to store the remaining hops after a batch of beer is still in the freezer but we want to seal them from any air if possible. The best way to do this is with a vacuum sealer. You probably bought them from the home brew store vacuum sealed, if you are buying hops that aren’t sealed or vacuum packed then consider how fresh they are. You may already have a food vacuum sealer at home and this is ideal, if not they can be pretty cheap to pick up.
If you don’t have a vacuum sealer or something like a heat sealer then an airtight container is probably the next best thing. Anything that will stop air getting to the hops in the freezer.
How Long Will They Keep?
So you’ve got your hops in the freezer but how long will they last? Well if they are unopened and in sealed vacuum bags from the home brew store then for a couple of years without too much deterioration.
If they are open then you can still use them but your recipe may need to be adjusted slightly, as mentioned before the hops lose alpha acids over time depending on the temperature they are stored at, thankfully there are ways to calculate the loss of acids over time using a simple calculator such as this one at Brewer’s Lair.
Hop Storage Tips
To be honest, I don’t like having to store lots of hops, one reason being I have a very small freezer and the other being that I find it too much hassle having to work out adjustments and keeping track of what needs using and when. It’s for this reason that I like to use some of the following tips to minimise the need to store hops long term:
- Buy as close to what you need as possible. This is obvious, right. The reason I say this is I found a company that sells hops in intervals of 50 grams, every other supplier sold 100 gram or 500 gram packs. Shop around and find the best option.
- Planning your brews around what you need to buy is something I also tend to do quite often. If I’m brewing with a common English hop I know there are plenty of beers I can brew that I can use them in so I brew the beer’s to suit the ingredients I have.
- Team up with a friend and trade hops. I send my excess hops to my friends to make a beer with. If you have a friend that brews why not trade your ingredients with them so you don’t end up with loads of leftovers. Of course, your friend will give you some of the beer they made in return.
Storing Yeast
Yeast is one of the most important ingredients to brewing great beer. Fortunately, unlike other ingredients, you don’t have any left over after brewing a batch because you pitch the whole package of yeast. This means you’ll only need to store it from the moment you buy it to the moment you brew the beer you are pitching the yeast into. Brewers yeast is packaged in quantities suitable for fermenting home brew sized batches so it is unlikely you will need to store an opened package of yeast.
Storing yeast is simple, there are only a couple of things you need to take into account. These are:
- The production date of the yeast or “best before”, and
- The temperature the yeast is stored at
As yeast sits in the package it will slowly degrade, the yeast cells will die and when you pitch the yeast only the viable cells that are healthy enough to reproduce and consume sugars will work.
Yeast Viability
There is a difference between liquid yeast and dry yeast. Liquid yeast has a much shorter shelf life than dried yeast. The shelf life for liquid yeast is 4 months, after the 4 months there will only be between 10% -20% viable yeast cells in the package. This means the vast majority of the cells are already useless.
Dried yeast, on the other hand, has a longer shelf life. The viability is only decreased by around 2% – 4% per month meaning after a year of storage you will still have more than half the yeast cells viable to ferment the beer.
As a general rule “the fresher, the better” applies to using and storing yeast. I would always recommend making a yeast starter when using liquid yeast especially once the viability starts falling. Dry yeast, on the other hand, is relatively robust and can usually just be pitched straight into the beer or rehydrated. I would only bother with a yeast starter if the package is more than a year old. Always use before the best before dates of course.
Yeast Storage Temperature
This is simple, store your yeast in the fridge. As soon as you buy it, whether it is liquid or dry yeast, stick it in the fridge. At a cooler temperature, the yeast will remain viable for longer than at room temperature. It will usually state on the packaging the ideal storage temperature so take a look at that.
Before using the yeast you will want to take it out of the fridge to warm back up to the pitching temperature. If the yeast is cold and you pitch it into 20°C wort, it can shock the cells which will be bad for the beer. Take the yeast out of the fridge before you start brewing and it will gradually warm up to room temperature.


Leave a Reply
Want to join the discussion?Feel free to contribute!