
Illustrated Guide To Home Brewing
In this post, I want to run through my typical brew day. I hope I can convince those new to brewing that brewing all grain beer does not only produce a delicious beer but is actually a simple process. If you are new to brewing check out some of these relevant brewing guides.
If you’re new to home brewing you may have read numerous books and articles on brewing your first beer, however, you still might not be able to visualise a complete brew day. This post will hopefully change that as it is made up almost entirely of photos from my a brew day for an Elderflower Kolsch recipe based on this base recipe I made a while ago. I hope you enjoy reading it as much as I enjoyed making it and it inspires those new to home brewing to get started.
Illustrated Guide To All Grain Home Brewing
First Things First ↓ Almost all my brew days begin by measuring and heating the strike water ready for the mash. This will be a 3 gallon batch
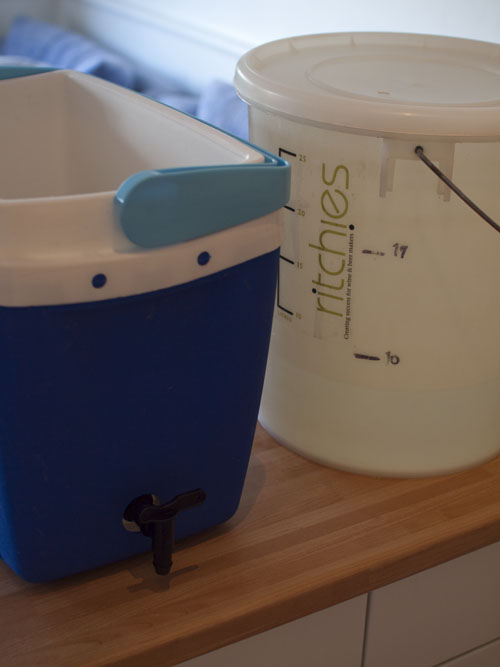
Mash Tun and Boiler ↓ Below is my cool box mash tun all clean and ready to go.
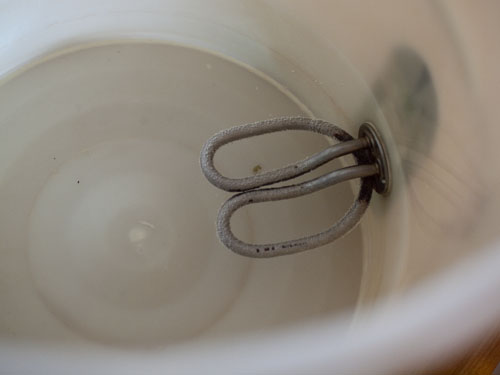
Heating Mash Liquor ↓ For those of you in America reading this then yes, this is a plastic boiler which does the job admirably, not everything needs to be stainless steel. I do have a pot that I use on the stove on most occasions but to be honest, this boiler is quicker and has a thermostat to easily control the temperature or boil. On this particular brew day, I’m raising the mash liquor temperature to 77°C (171°F)
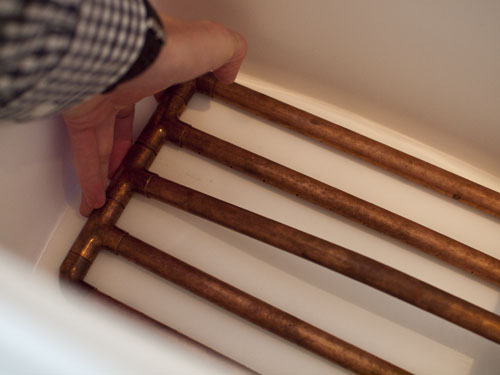
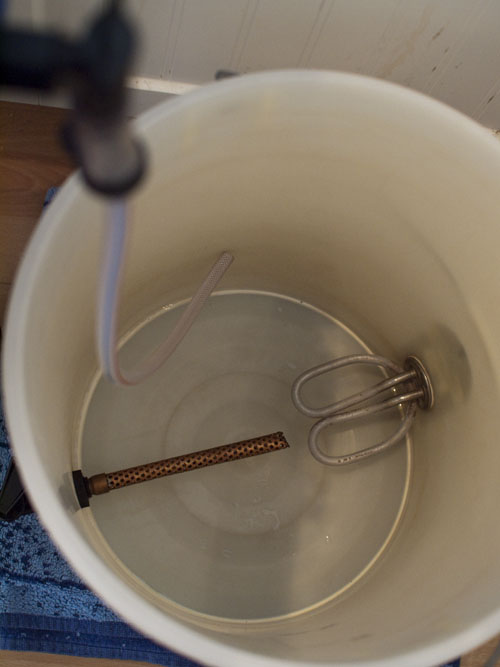
Mash Tun Manifold ↓ The copper manifold is fitted and allows the wort to be separated from the grains after the mash is over. This particular manifold has slotted grooves in the underside and comes apart for cleaning.
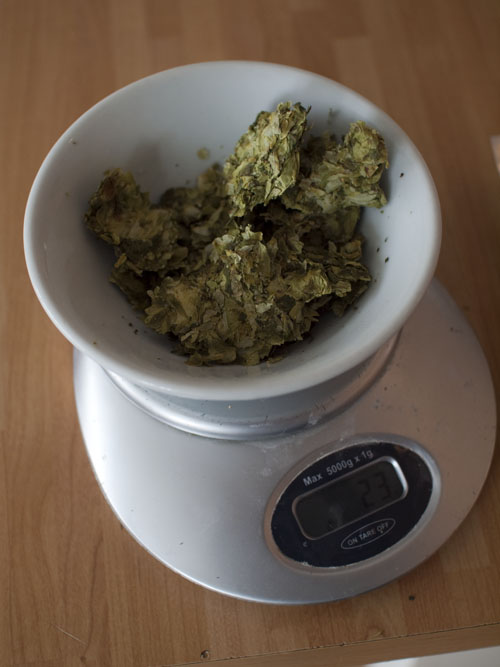
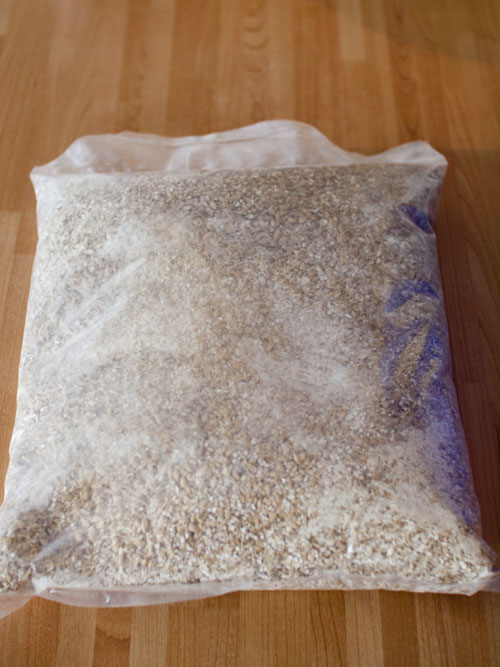
Malt, Ready ↓ The grain bill was all measured and combined the night before and stored in a sealed bag, I also added brewing salts and mixed through the grain thoroughly. This saves a huge amount of time compared to weighing grain on the brewday and saves having to clean up when there are other things that need doing.
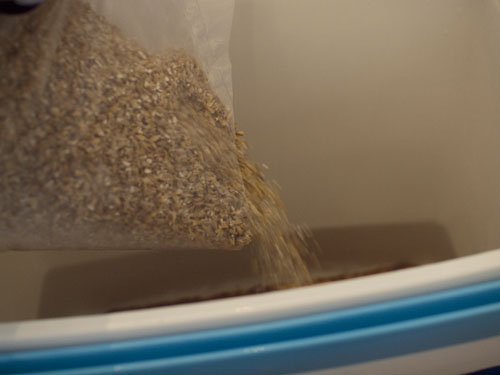
Dough-In ↓ The grain is then added to the mash tun with the strike water in and stirred thoroughly to ensure there are no dry spots. If you’re brewing inside you’ll have a lovely malty smell all over the house in no time.
Checking The Temperature ↓ This was previously at 77°C (171°F) but the combination of adding the water to the mash tun and then adding the grain cools the strike water to achieve the desired mash temperature at around 66°C (152°F). The amount of cooling that takes place will depend on a variety of factors like your equipment and the temperature of your mash tun and grain. If you don’t hit the correct temperature straight away then add boiling or cold water to adjust. Make sure you’re on target then leave it alone constant stirring and peeking will only help you to lose temperature quicker.
60 Minute Mash ↓ After an hour, or however long you’re mash is, you need to be ready to run off and sparge. I would suggest that 35-40 minutes into the mash you begin preparing the sparge water and bringing it up to around 80°C (176°F). I’m batch sparging and bringing the sparge water to temperature on the stove. The boiler is set up with a copper hop filter ready for the first runnings.
Run Off and Batch Sparge ↓ When I batch sparge I’ll begin running off very slow and recirculating the wort by pouring it back into the mash tun very gently to avoid disturbing the grain. This will help filter a lot of the debris out of the wort. After a few minutes I will then let the mash tun run off completely. Once all the wort is out the tap’s shut off and the mash tun recharged with the sparge water. Stir the grains thoroughly with the new sparge liquor and leave it for 15 minutes or so, then repeat the run off process with the second runnings.

Back On The Heat ↓ As soon as the element in the boiler is covered I slowly begin bringing the wort to the boil and measure out the first lot of hops ready to throw in for the boil.
Bittering Hops ↓ As soon as you hit a boil in go the hops. There is a lot of hot break in this picture and the boil is beginning to come through the surface of that. It’s important to keep a rolling boil to isomerize the hops.
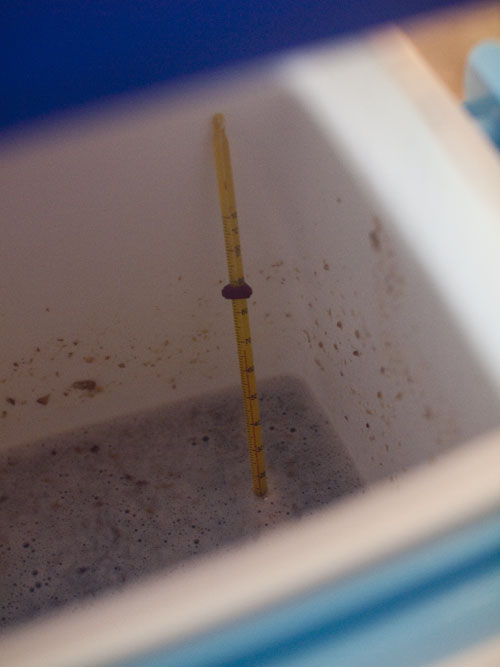
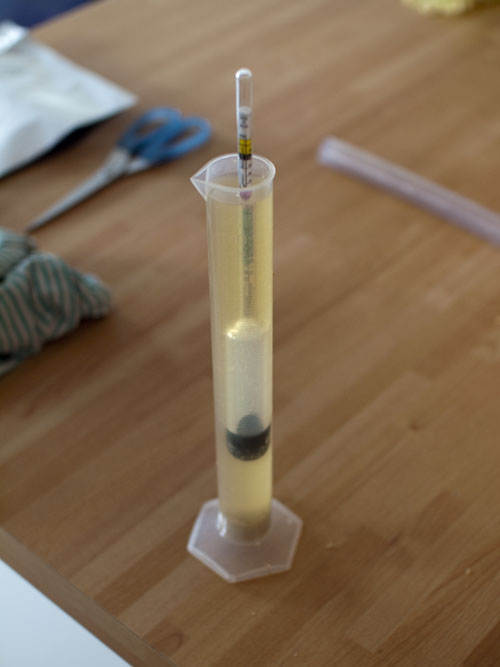
Hydrometer Reading ↓ I took a sample before bringing to the boil so I can make sure I hit my target gravity pre-boil. This must be one of the clearest worts I’ve ever made. Make sure you adjust for temperature if you’re taking a gravity reading in hot wort.
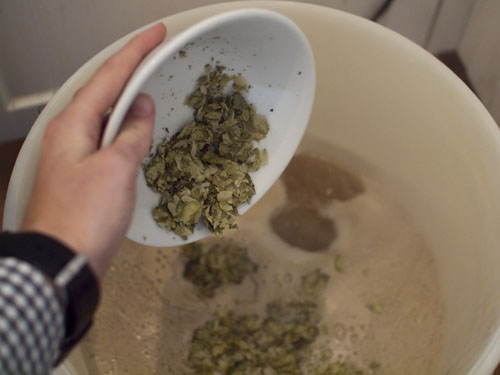
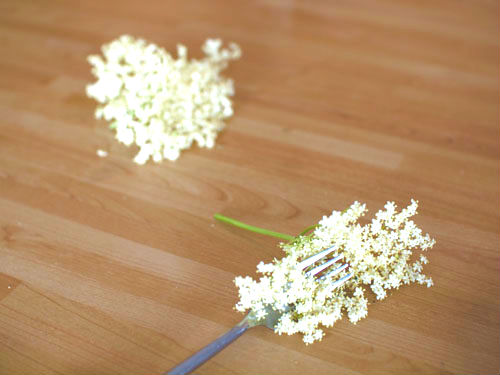
Getting The Flavours Ready ↓ This particular beer had elderflowers as well as aroma hops added a few minutes before the end of the boil. Using a fork to remove the flowers is the only advice I can give you on this.
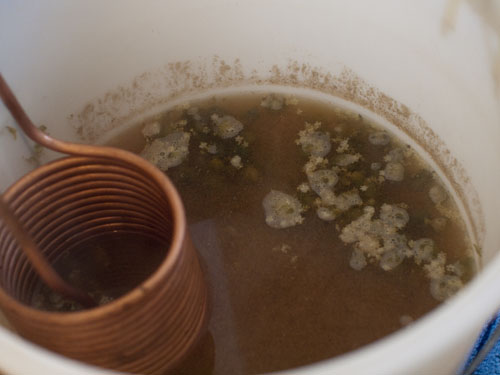
Cooling The Wort ↓ Just like heating the wort to boiling creates break material, cooling it down quickly does a similar thing, precipitating out proteins giving you a clearer, cleaner beer. We also want to cool quickly to pitch the yeast as soon as possible so no other nasties can get a foothold. As you can see my chiller isn’t completely submerged so it took slightly longer to cool.
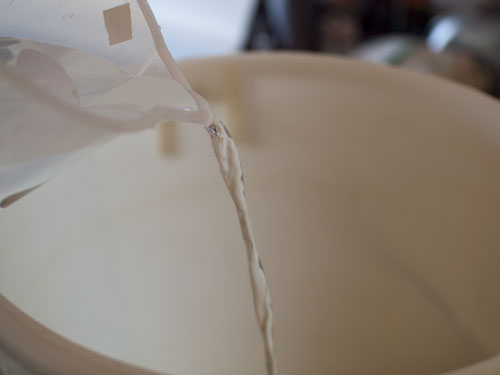
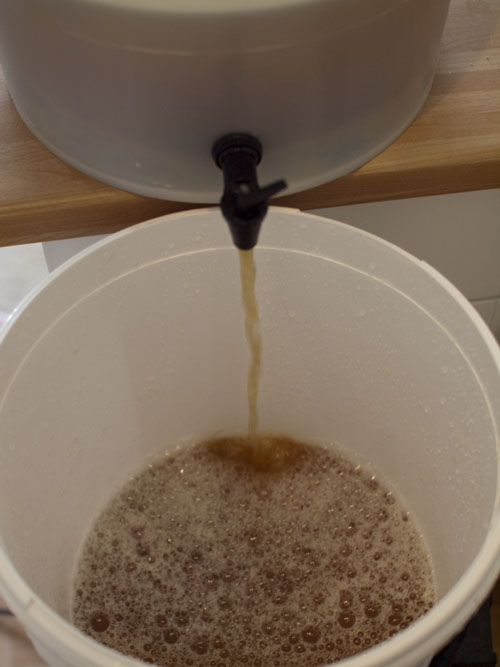
Into The Fermenter ↓ The wort is cooled to yeast pitching temperature and is drained from the boiler into the prepared fermenter. The hop filter in the boiler catches the whole hops which in turn act as a filter to keep a lot of the other bits and pieces out of the wort. The wort needs aerating, in this picture I drop it down a fair distance then use a sanitised jug to pour it back and forth. The yeast can then be pitched.
There we have it, my Elderflower Kolsch was ready after a month or so. All in all the brew day took just under 4 hours which I think is pretty good for a 3 gallon batch. If you know someone interested in brewing or getting into all grain brewing then please share this post with them and get them involved in this awesome craft.


Leave a Reply
Want to join the discussion?Feel free to contribute!